Last Updated: May 2026
Expo push notifications let a React Native app send and receive push messages on iOS and Android through a single API, without writing separate code for Apple Push Notification service (APNs) and Firebase Cloud Messaging (FCM). You install expo-notifications, request permission, generate an Expo push token, and send messages to Expo's push service, which forwards them to APNs and FCM for you.
That abstraction is the appeal: one token, one payload format, two platforms. But the client setup is only half the job. Getting a token on a device is easy. Sending the right notification, to the right user, at the right time, from a production backend is where most teams stall.
This guide covers the core path: how Expo push notifications work, how to set them up step by step, how to send a notification from your server, and what the Expo push service deliberately leaves to you.
What Are Expo Push Notifications?
Expo push notifications are remote notifications delivered through the Expo push service, a free relay that sits between your backend and the native push providers. Instead of integrating APNs and FCM directly, you send one request to Expo with an Expo push token, and Expo routes it to the correct provider based on the device.
There are two token types you need to keep straight:
- Expo push token (looks like
ExponentPushToken[xxxxxxxx]): used to send through the Expo push service. This is the simplest path and works across both platforms. - Native device push token: the raw FCM or APNs token. Use this only if you send directly through FCM/APNs or a third-party service that expects native tokens.
Most teams start with the Expo push token because it removes the need to manage two provider SDKs. If you later move to a notification platform, you typically switch to native device tokens. We cover that transition at the end.
How Expo Push Notifications Work
The flow has four moving parts. Your app requests permission and registers for a token. Your backend stores that token against the user. When something happens, your backend sends a payload to the Expo push service. Expo forwards it to APNs or FCM, which delivers it to the device.
A few platform rules shape the setup:
- Physical devices required. Push tokens are not issued on most simulators. You test on a real device, an Android emulator with Google Play services, or an iOS simulator on Xcode 14+ (macOS 13+, iOS 16+, and a Mac with Apple Silicon or T2 processor).
- Android 13+ needs runtime permission. Since Android 13, apps must request the
POST_NOTIFICATIONSruntime permission before showing notifications. - iOS needs an APNs key. You upload an APNs authentication key so the push provider can deliver to Apple devices.
- Expo Go limitation. From SDK 53 onward, push notifications do not work in Expo Go on Android. A development build is required. Local notifications still work in Expo Go, but remote push tokens will not be issued. This is the most common cause of silent push failures after an SDK upgrade.
If you want the deeper mechanics of how APNs and FCM actually move a message, we wrote a separate breakdown of how iOS and Android push notification services work technically.
How to Set Up Expo Push Notifications
The setup below uses the expo-notifications library and assumes a managed Expo project. Each step is independent, so you can drop these into an existing app.
1. Install the Libraries
Install expo-notifications for the push APIs and expo-constants to read your EAS project ID.
npx expo install expo-notifications expo-constants
2. Request Permission and Get the Expo Push Token
Ask the user for permission, then request the Expo push token using your EAS project ID. The token is what your backend stores to target this device.
import * as Notifications from 'expo-notifications';
import Constants from 'expo-constants';

async function registerForPushNotificationsAsync() {
  const { status: existingStatus } = await Notifications.getPermissionsAsync();
  let finalStatus = existingStatus;

  if (existingStatus !== 'granted') {
    const { status } = await Notifications.requestPermissionsAsync();
    finalStatus = status;
  }

  if (finalStatus !== 'granted') {
    return null; // user declined
  }

  const projectId =
    Constants?.expoConfig?.extra?.eas?.projectId ??
    Constants?.easConfig?.projectId;

  const pushTokenString = (
    await Notifications.getExpoPushTokenAsync({ projectId })
  ).data;

  return pushTokenString; // ExponentPushToken[...]
}
3. Configure a Notification Handler
The handler controls how notifications behave when the app is in the foreground. Without it, foreground notifications are silent by default.
Notifications.setNotificationHandler({
  handleNotification: async () => ({
    shouldPlaySound: true,
    shouldSetBadge: true,
    shouldShowBanner: true,
    shouldShowList: true,
  }),
});
4. Add Foreground and Tap Listeners
Two listeners cover the cases you care about: a notification arriving while the app is open, and the user tapping a notification. Register them in a useEffect and clean them up on unmount.
const receivedSub = Notifications.addNotificationReceivedListener(notification => {
  // notification arrived in foreground
});

const responseSub = Notifications.addNotificationResponseReceivedListener(response => {
  // user tapped the notification, e.g. read response.notification.request.content.data
});
5. Set Up FCM and APNs Credentials
For production builds, Expo needs credentials to reach the native providers. On Android, you need two things from Firebase: the google-services.json file (added to your project for the native build) and a separate Google Service Account Key JSON (uploaded to EAS to authorize sending via FCM V1). These are different files - the google-services.json is safe to commit; the service account key is sensitive and should be gitignored. On iOS, upload an APNs authentication key in your Expo credentials. The official Expo push notifications setup guide walks through generating both.
Sending a Push Notification From Your Backend
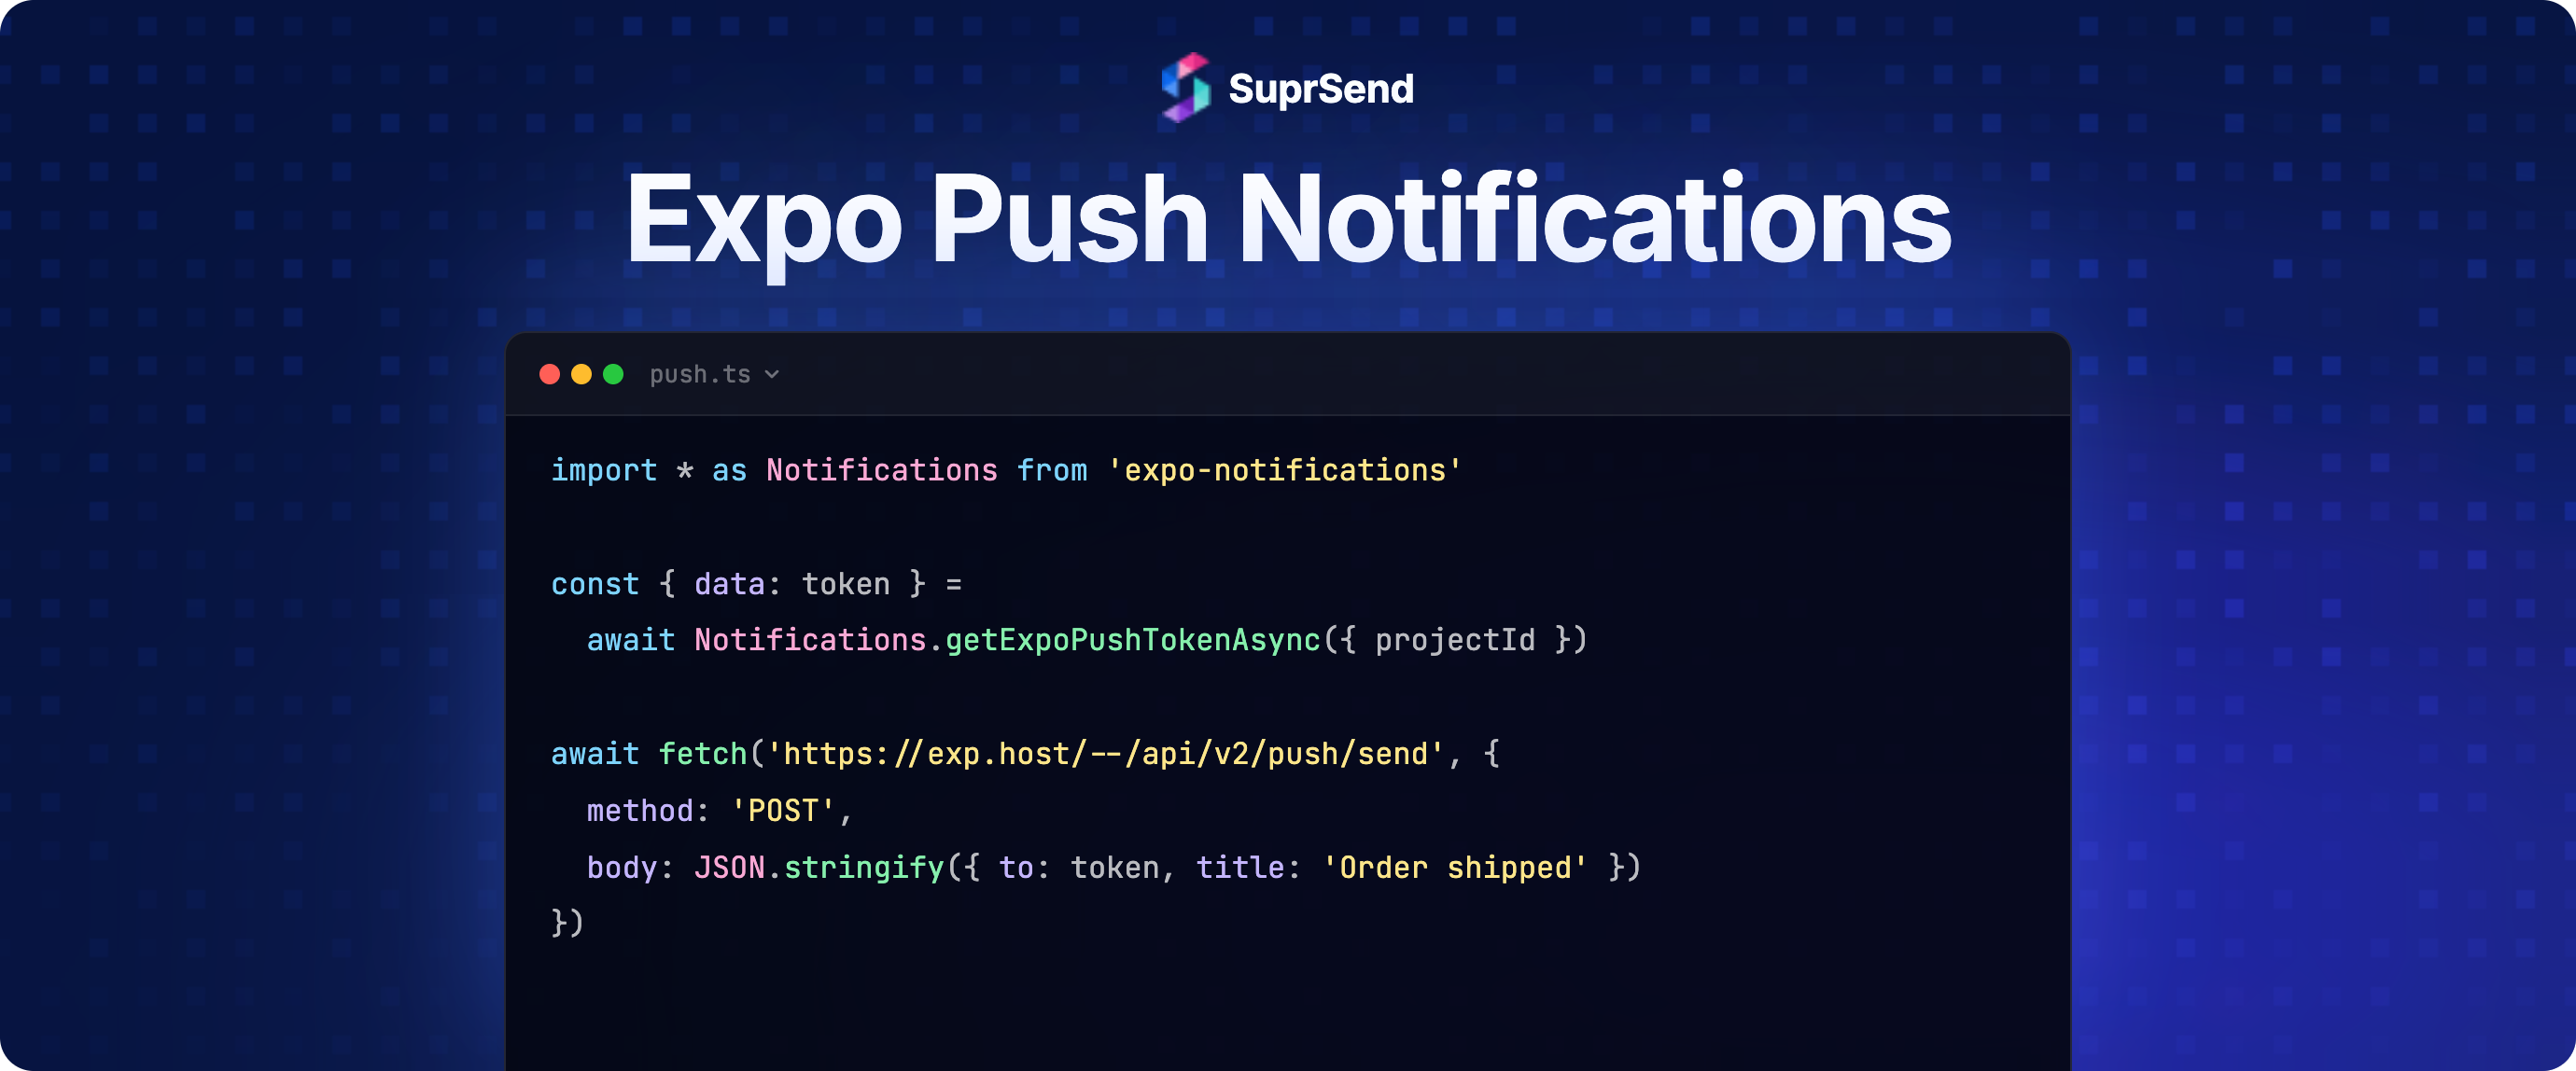
Once you have a token stored, sending is a single HTTP request to the Expo push service. Here is the minimal server-side call.
await fetch('https://exp.host/--/api/v2/push/send', {
  method: 'POST',
  headers: {
    Accept: 'application/json',
    'Accept-encoding': 'gzip, deflate',
    'Content-Type': 'application/json',
  },
  body: JSON.stringify({
    to: expoPushToken,
    sound: 'default',
    title: 'Your order shipped',
    body: 'Track it from your dashboard',
    data: { orderId: '10423' },
  }),
});
This works perfectly for a prototype or a low-volume app. The Expo push service handles batching and provider routing. What it does not handle is everything around the send: who to notify, on which channel, when, and what to do when delivery fails.
What the Expo Push Service Does Not Handle
The Expo push service is a delivery relay, not a notification system. As your app grows, the gaps between "send a push" and "run notifications in production" become the actual engineering work. Most of it has nothing to do with Expo.
- Deliver to iOS and Android: handled by Expo's push service directly.
- Fall back to email or SMS when push fails: Expo does not cover this; an orchestration layer adds it.
- Schedule or delay a send: Expo does not cover this; an orchestration layer adds it.
- Batch many events into one digest: Expo does not cover this; an orchestration layer adds it.
- Per-user channel preferences and opt-outs: Expo leaves this for you to build; an orchestration layer ships it.
- Delivery and open analytics: Expo returns delivery receipts only; full analytics need an orchestration layer.
- Templates and versioning: Expo does not cover this; an orchestration layer adds it.
You can build each of these yourself. Teams do, and it is a recurring reason building notifications in-house is harder than it looks. The question is whether notification plumbing is where you want your engineers spending the next few months, a classic build-vs-buy decision, or whether push is one channel in a larger multi-channel notification strategy you would rather not hand-roll.
Where Expo Push Fits in a Production Notification Stack
In production, push is rarely the only channel. A shipped-order alert might go to push first, fall back to email if the device has no token, and show up in an in-app inbox regardless. Coordinating that across channels is what a notification infrastructure platform like SuprSend handles, sitting as an orchestration layer above Expo, FCM, and APNs.
SuprSend ships a dedicated notification SDK for Expo, @suprsend/expo-sdk, so you keep the same React Native setup and add routing, preferences, and analytics on top. You wrap your app in a provider, and the SDK registers the FCM/APNs token, handles permission, and links it to the user.
import { SuprSendExpoProvider } from '@suprsend/expo-sdk';

export default function App() {
  return (
    <SuprSendExpoProvider
      publicApiKey={process.env.SUPRSEND_PUBLIC_KEY!}
      distinctId={currentUser.id}
      userToken={currentUser.suprsendToken}
    >
      <RootNavigator />
    </SuprSendExpoProvider>
  );
}
From there, your backend triggers a workflow instead of calling a push endpoint directly. The workflow decides the channel order, applies user preferences, and routes to the right vendor with automatic fallback. The full steps are in the SuprSend Expo push notifications docs, and the credential setup mirrors the FCM/APNs steps above in the native push setup guide.
The trade-off is honest: if you only ever send a single push channel to a handful of users, the raw Expo push service is enough on its own. The value of an orchestration layer shows up once you have multiple channels, real user preferences, and a need to see what was delivered. For broader context, our guide to the best push notification platforms for 2026 compares the options.
Frequently Asked Questions
Are Expo push notifications free?
Yes. The Expo push service is free to use and does not charge per notification. You still need a Firebase project for Android (free tier covers FCM) and an Apple Developer account for iOS APNs credentials.
Do Expo push notifications work without ejecting?
Yes. Push notifications work in a managed Expo workflow using expo-notifications. You do not need to eject or use the bare workflow to send and receive remote notifications.
Why is my Expo push token not generating?
The most common causes are: running on a simulator that does not issue tokens (iOS simulator push only works on Xcode 14+, macOS 13+, iOS 16+, and requires Apple Silicon or T2 hardware), missing notification permission, a missing EAS project ID, or using Expo Go on SDK 53+ (which no longer supports remote push on Android). Test on a physical device, confirm permission is granted, and pass a valid projectId to getExpoPushTokenAsync.
What is the difference between an Expo push token and a device push token?
An Expo push token is used to send through Expo's push service, which relays to FCM and APNs. A native device push token is the raw FCM or APNs token, used when you send directly through those providers or a notification platform that expects native tokens.
Can I send Expo push notifications from my own backend?
Yes. Send an HTTP POST to https://exp.host/--/api/v2/push/send with the Expo push token and payload. For higher volume, check the delivery receipts Expo returns to detect invalid tokens and failures.
How do I handle push notifications across email and SMS too?
The Expo push service only handles push. To coordinate push with email, SMS, and in-app inbox, including fallback when push fails, you route through a notification orchestration layer that manages all channels behind one API.
Do I still need Firebase for Expo push notifications?
For Android, yes. Expo delivers Android notifications through FCM, so you add a google-services.json from a Firebase project. iOS uses APNs and does not require Firebase.
Summary
Expo push notifications give React Native teams a clean way to deliver push across iOS and Android through one token and one API, abstracting away direct FCM and APNs integration. Setup is straightforward: install expo-notifications, request permission, generate an Expo push token, configure a handler and listeners, and add provider credentials. Sending from a backend is a single HTTP request. The harder part is everything around the send, channel fallback, scheduling, preferences, and analytics, which the Expo push service leaves to you. For single-channel apps, that is fine. For production notifications across channels, an orchestration layer over Expo, FCM, and APNs handles the parts you would otherwise build yourself.
Ready to put push in production? You can start building with SuprSend for free or book a demo to see multi-channel orchestration over Expo in action.


