Slack Block Kit is a UI framework enabling developers to design personalized and interactive notifications for Slack. Its building blocks offer flexibility to create engaging messages and add buttons, menus, and media. Diverse events like customer feedback can trigger these transactional notifications, GitHub pull requests or create new database entries.
For this blog, we will guide you on how to send transactional notifications on Slack for sending important alerts, updates, and reminders to your users.
Slack Block Kit Components
Slack Block Kit provides several blocks that can be used to create custom and interactive notifications for Slack.
For example, you can use a text block for a heading, an image block for a product screenshot, an action block for a "Approval Request" CTA button, and a context block for the meeting time and location.
List of Slack Block Kit Layout Blocks
Slack Block Kit uses JSON objects to define the blocks and their properties. Multiple blocks can create more complex, rich, and engaging messages. Different blocks are given below.
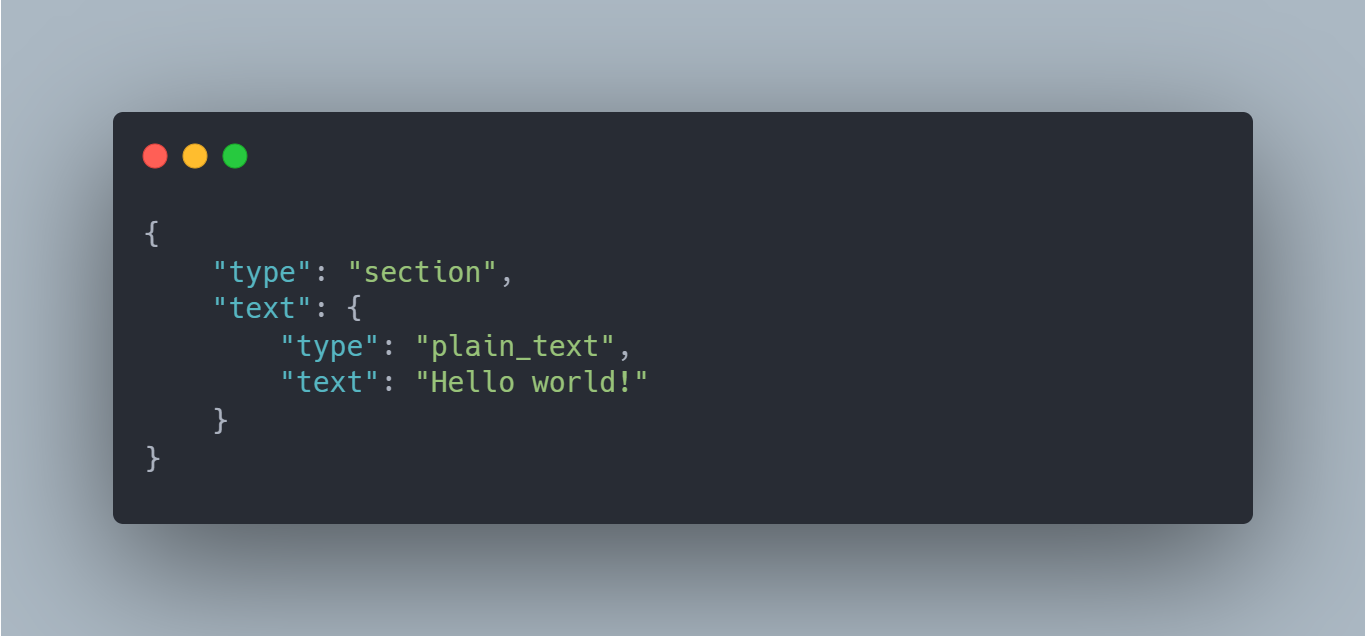
Section:
A block for organizing content into sections, supporting text, images, and buttons. Syntax:
Divider:
A simple line divider used to visually separate blocks. Syntax:
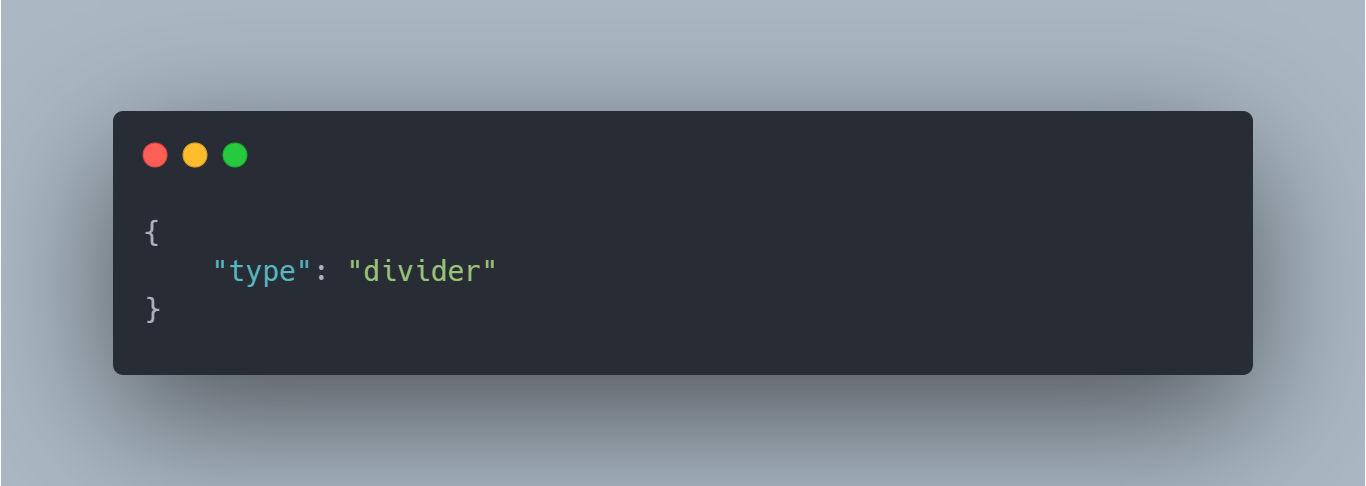
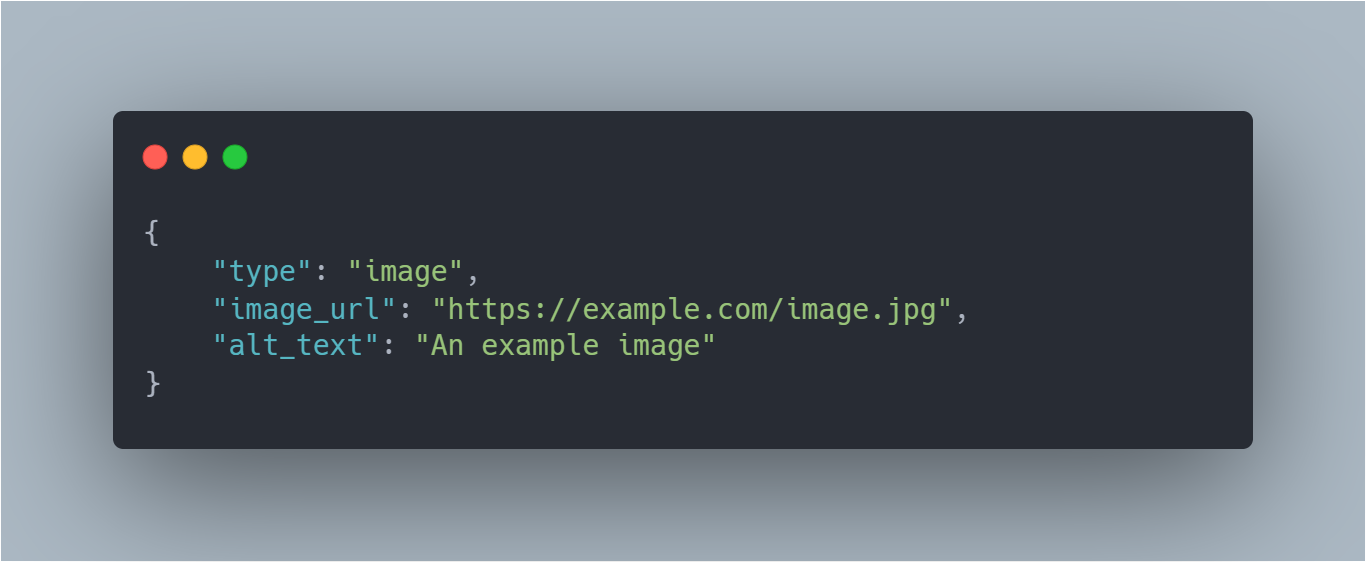
Image:
A block for displaying images with support for URLs, alt text, and sizing options. Syntax:
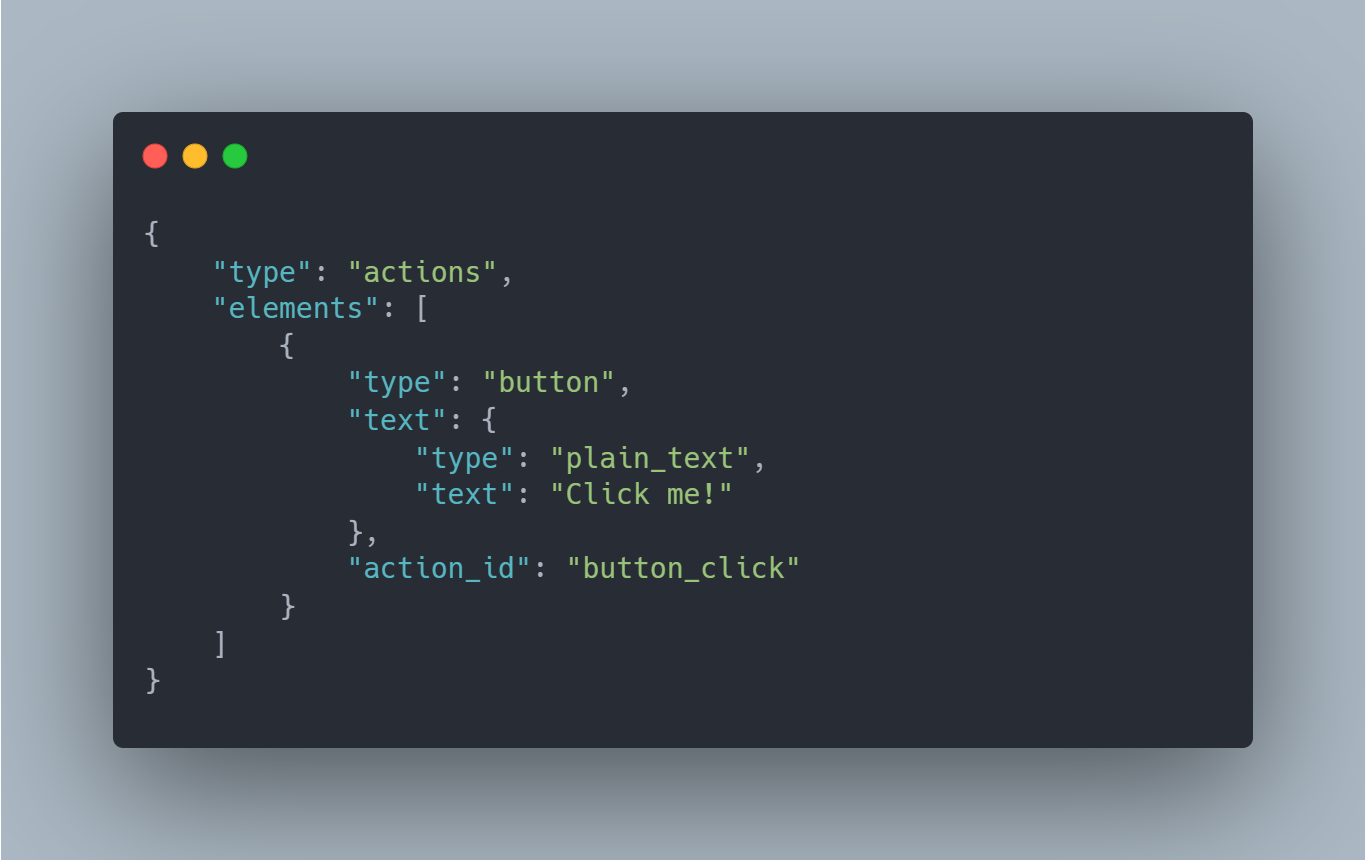
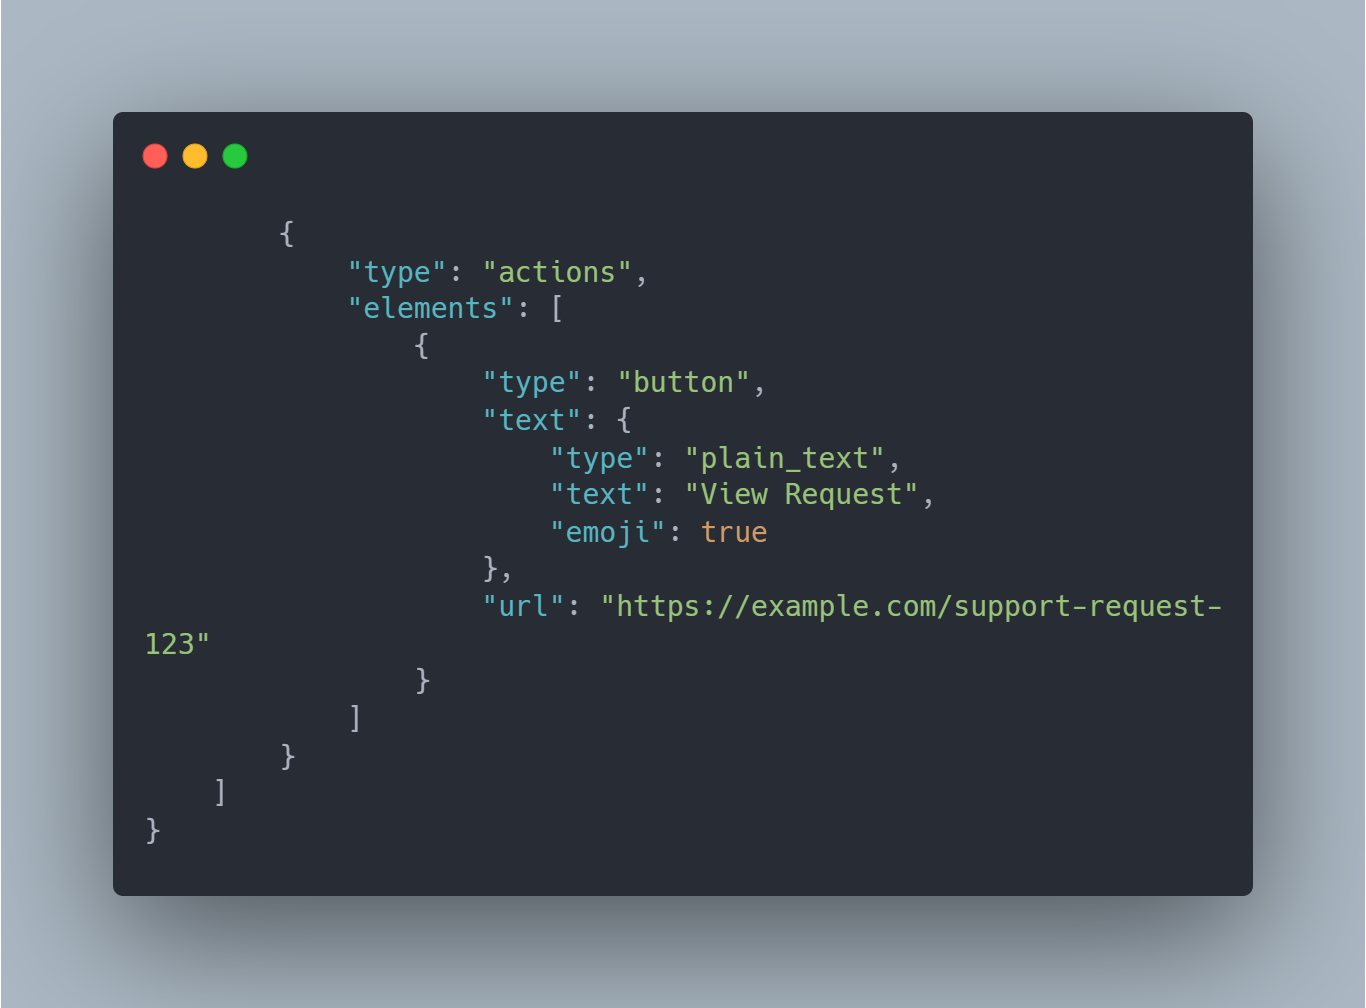
Actions:
A block for adding interactive elements, such as buttons and menus, to a message. Syntax:
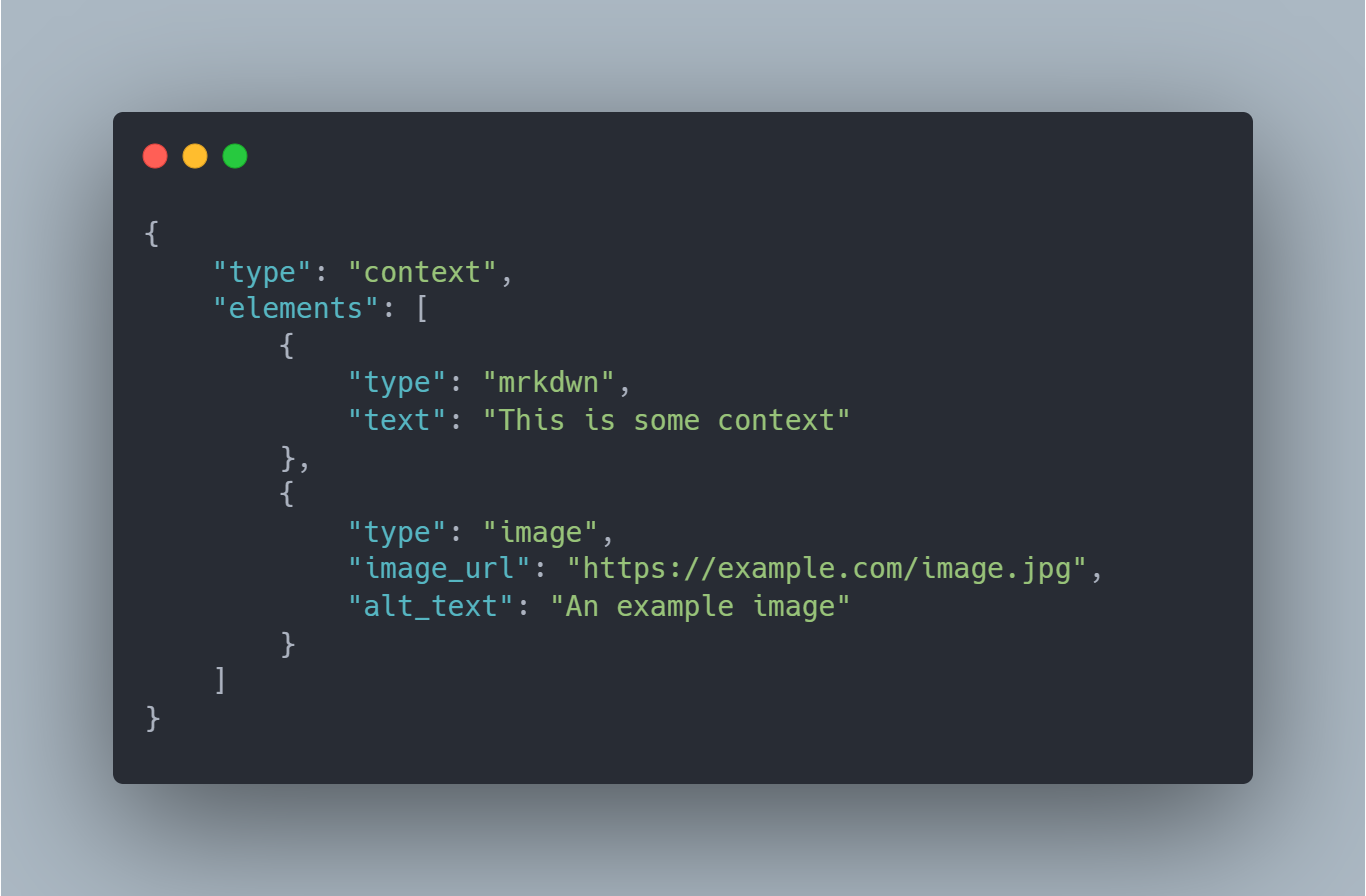
Context:
A block for providing additional context or supplementary information to a message, with support for images and text. Syntax:
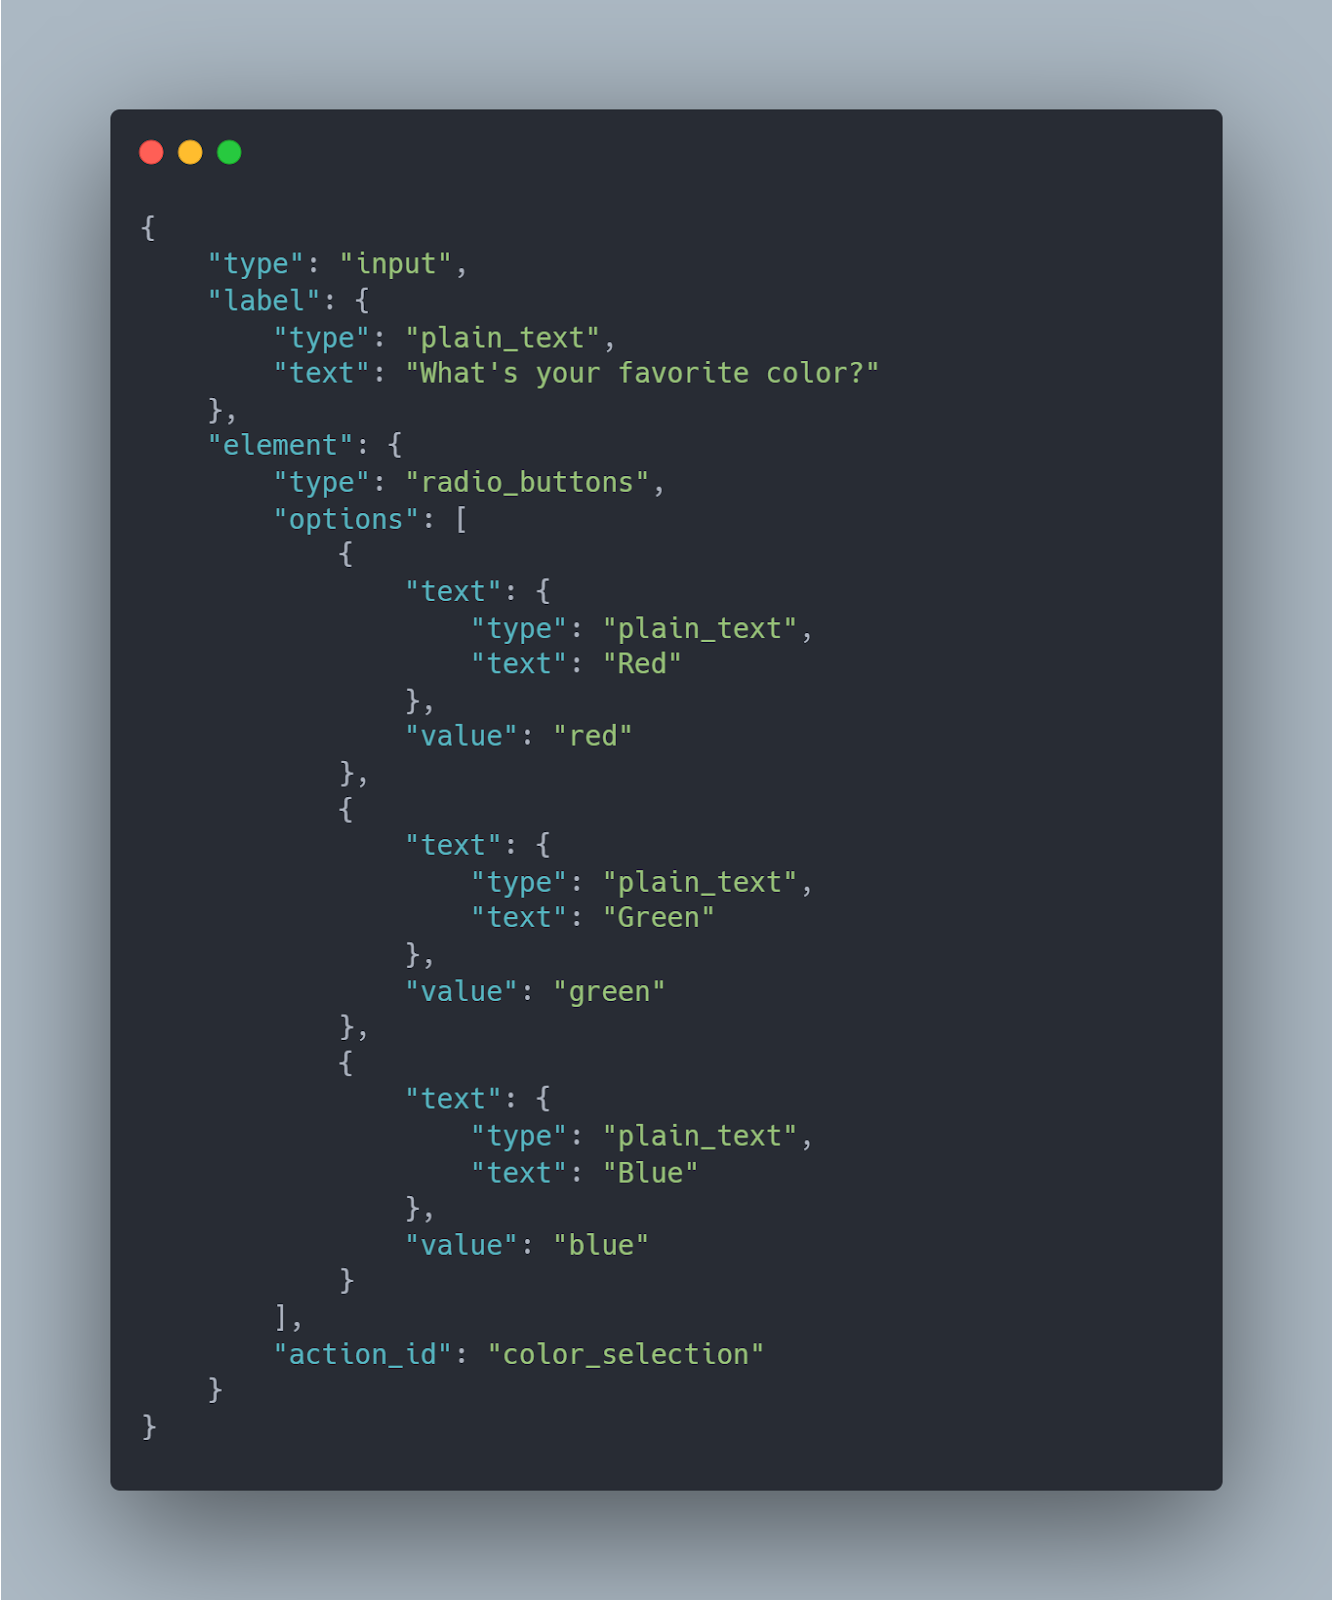
Input:
A block for collecting user input, with support for various input types like plain text, checkboxes, radio buttons, and more. Syntax:
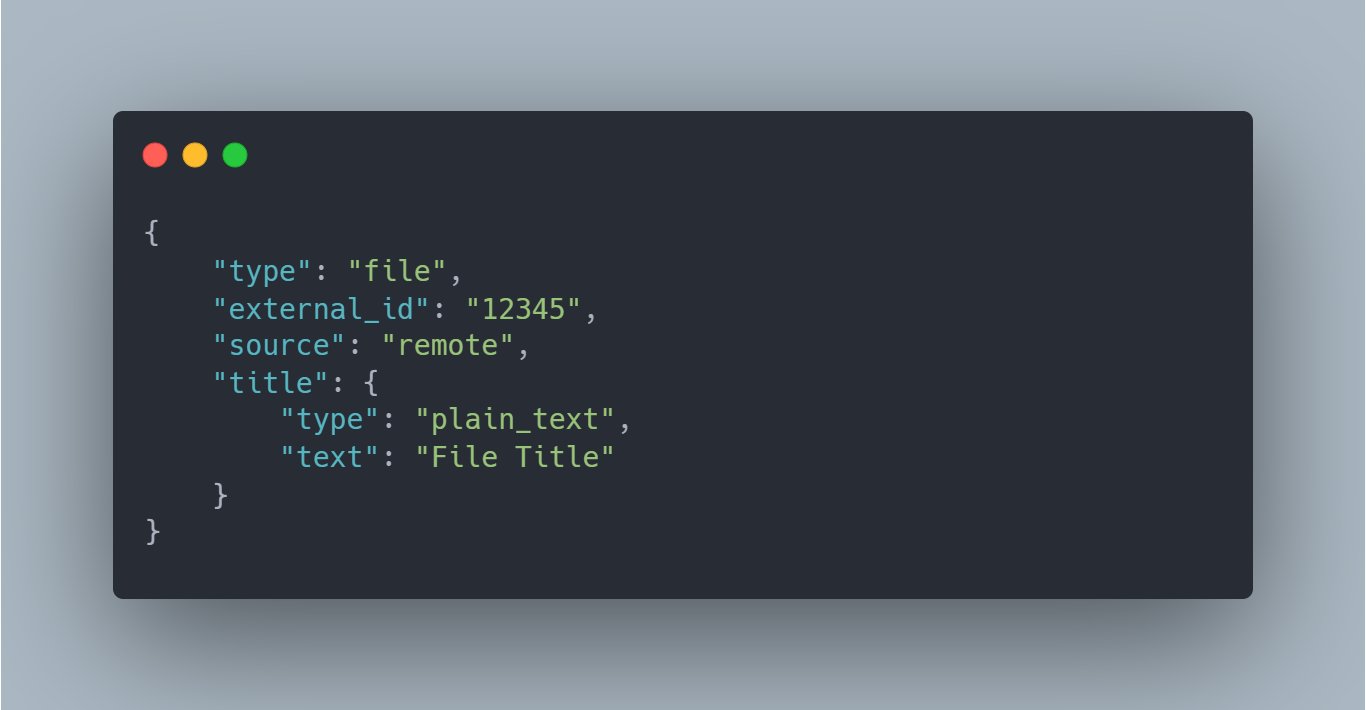
File:
A block for displaying information about a file, with support for various file types like images, documents, and videos. Syntax:
Creating New JIRA Ticket Notification using Slack Block Kit
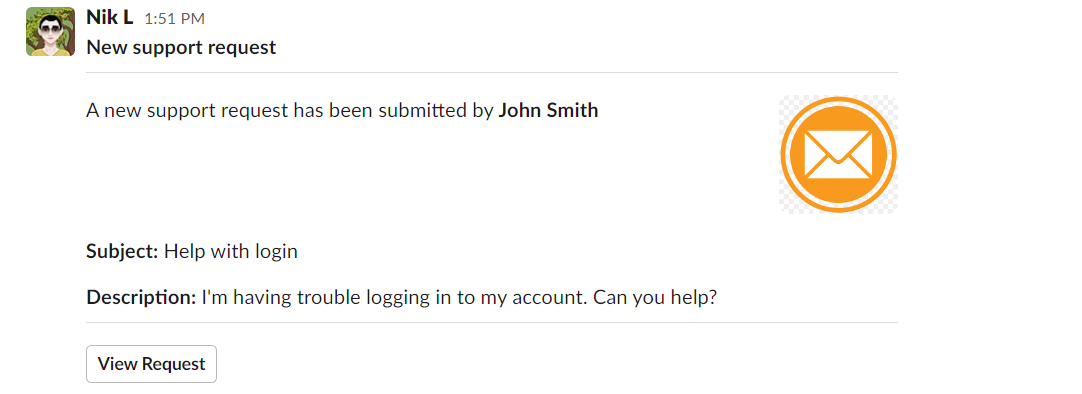
In this section, we will walk through creating a custom notification (New Support Request) using Block Kit components. The following JSON code blocks would be used to create a notification as shown below:

Pre-requisites
To get started, you would need the following things:
- A JIRA account with administrative access
- A Slack account with administrative access
- Basic knowledge of JIRA and Slack platforms
- Basic knowledge of JSON and JSONNET
- A code editor that supports JSON and JSONNET (e.g. VS Code)
- A webhook URL for Slack integration with JIRA
- A JIRA project with a webhook URL configured to send notifications to Slack
- Access to the command line interface (CLI) for installing and using the ‘’’jsonnet’’’ tool
You can check JIRA Server integration here: Jira Server | Slack App Directory
Step 1: Choose the event that will trigger the notification
First, you need to determine the event that will trigger the notification. This could be a new database entry, a user action, or a customer support ticket. Once you know the event, you can create a webhook to send the notification to Slack.
In this example, the trigger will come when someone creates a new JIRA ticket.
Step 2: Determine the content of the notification
Next, you need to determine the content of the notification. It might include text, images, links, and buttons. In this example, we would create a ‘new support request’ ticket message to be delivered on Slack.
Step 3: Select the Block Kit components
Once you know the content you want to include in the notification, you can select the appropriate Block Kit components. In this example, we will use the ‘section,’ ‘image,’ and ‘action’ blocks to create our Slack message.

Step 4: Organize the content using layout blocks
Once you've selected the components, you must organize them using layout blocks. These blocks control the structure and formatting of the notification. We will use ‘section’, ‘button’, and ‘divider’ blocks in this example. Ensure that the outgoing URL points to your JIRA instance correctly.
Step 5: Send the notification
Finally, you can send the notification to the appropriate channel or user. You can use the Slack API to send the notification programmatically or use a third-party integration tool, such as Zapier or IFTTT. Here's the ‘message preview’ for the above code after sending it.
Customizing Notification Content for Each Recipient With Dynamic Fields Using JSONNET
Block Kit is an advanced tool that enables personalized notification content for each recipient through the use of dynamic fields. By leveraging JSONNET, you can easily customize templates to include rich elements like text, images, inputs, and more. This guide will show you how to utilize dynamic fields in Block Kit to create highly personalized and relevant notifications.
Step 1: Determine the dynamic fields
First, determine which fields will differ for each customer. For the JIRA ticket example, use the customer name, ticket subject, ticket description, and the recipient's name to customize the notification message.
Step 2: Insert placeholders for the dynamic fields
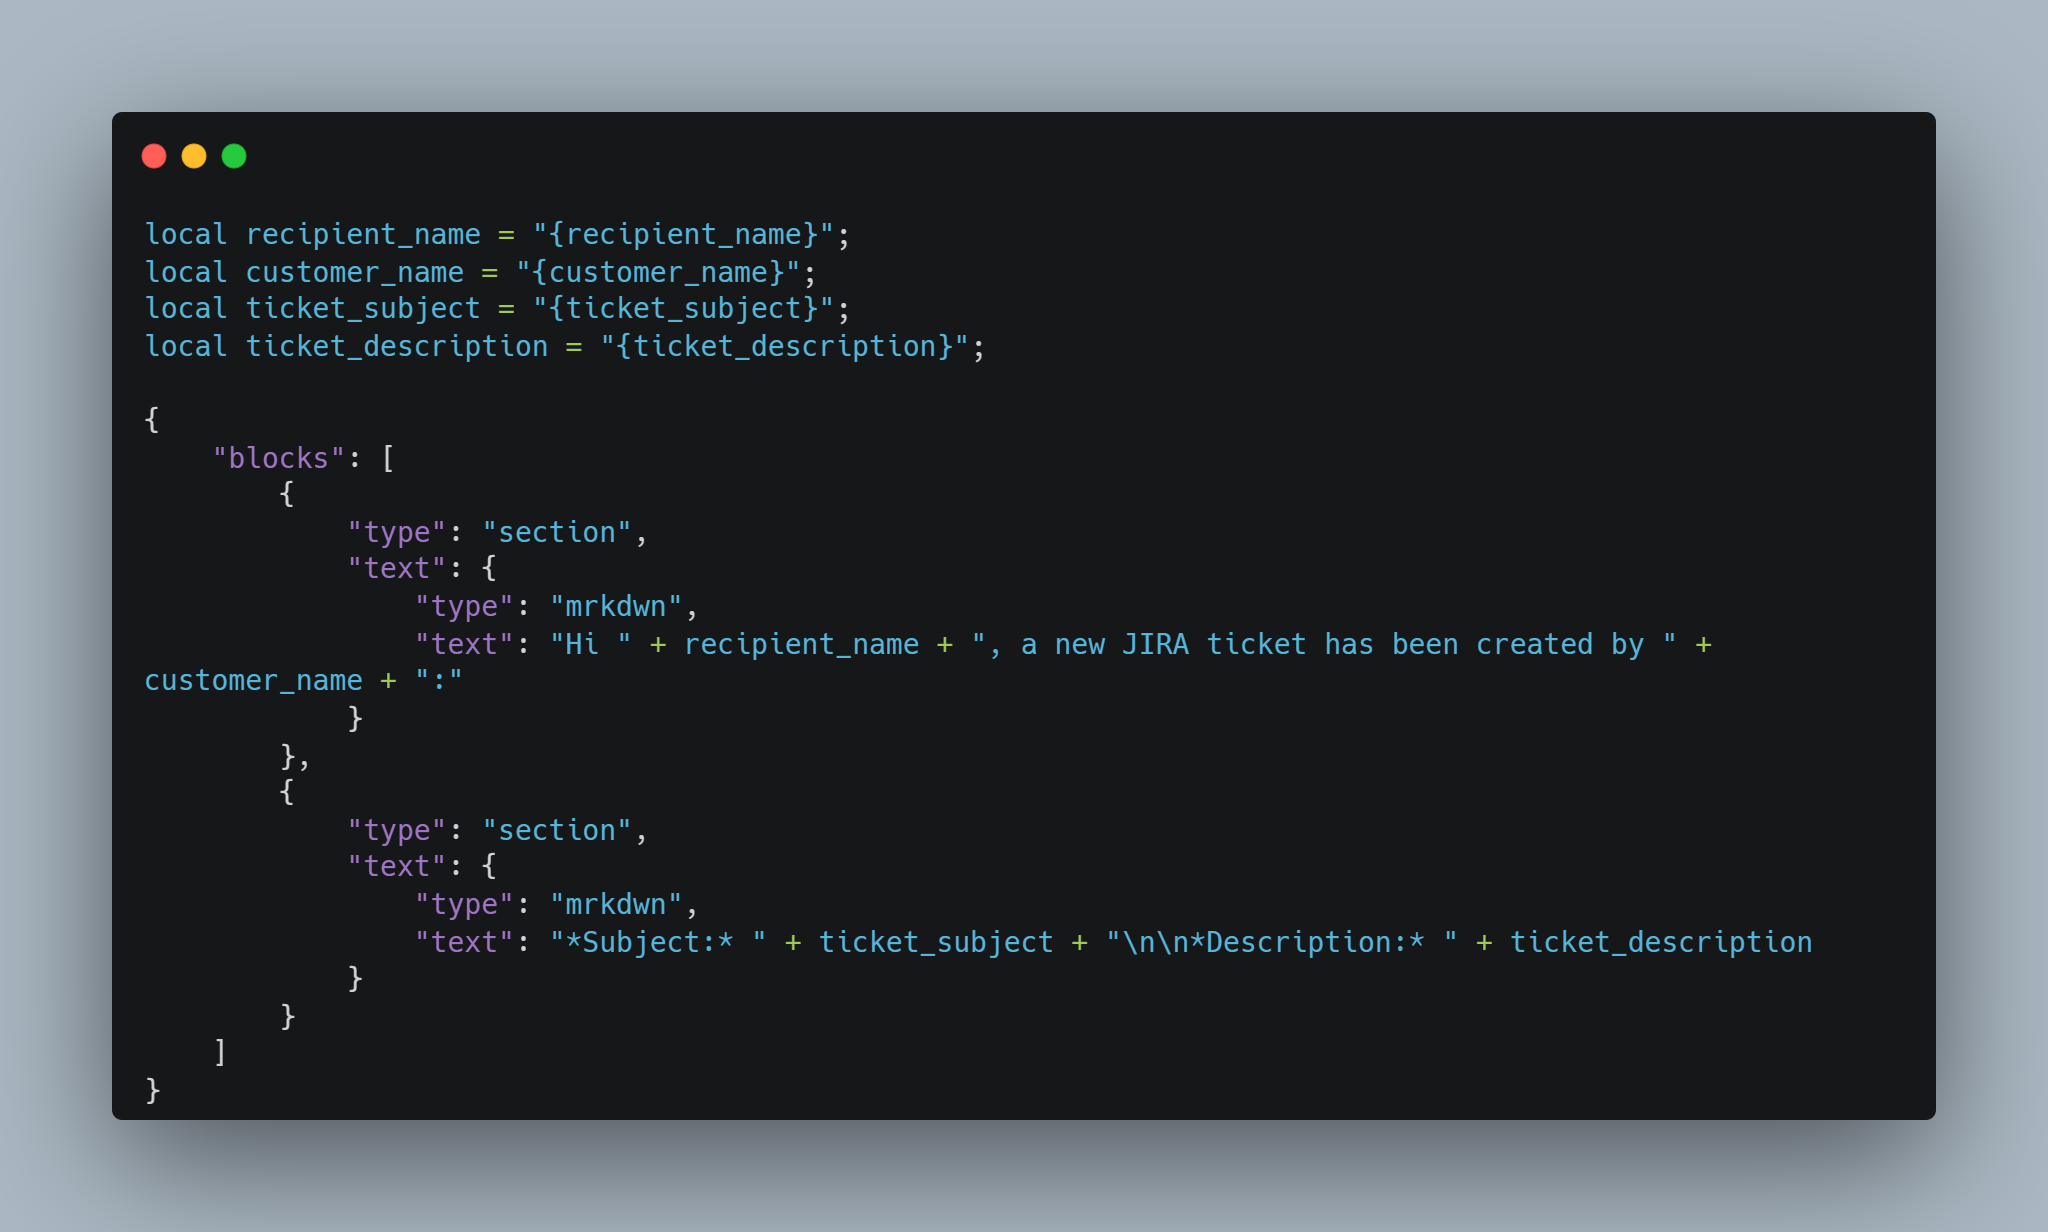
Using JSONNET, construct a message template that includes placeholders for the dynamic fields. Here's an example: Here's a breakdown of the dynamic fields used in this JIRA ticket example:
- '''{recipient_name}''': This is a placeholder for the recipient's name.
- '''{customer_name}''': This is a placeholder for the customer's name who submitted the support request.
- '''{ticket_subject}''': This is a placeholder for the subject of the JIRA ticket.
- '''{ticket_description}''': This is a placeholder for the description of the JIRA ticket.
You can also include additional information about the support request by adding more dynamic fields to the message.
Step 3: Use the Slack API to replace the placeholders
When you're ready to send the notification, use the Slack API to replace the placeholders with the actual values for each customer. Here's an example of Slack JSON API payload:
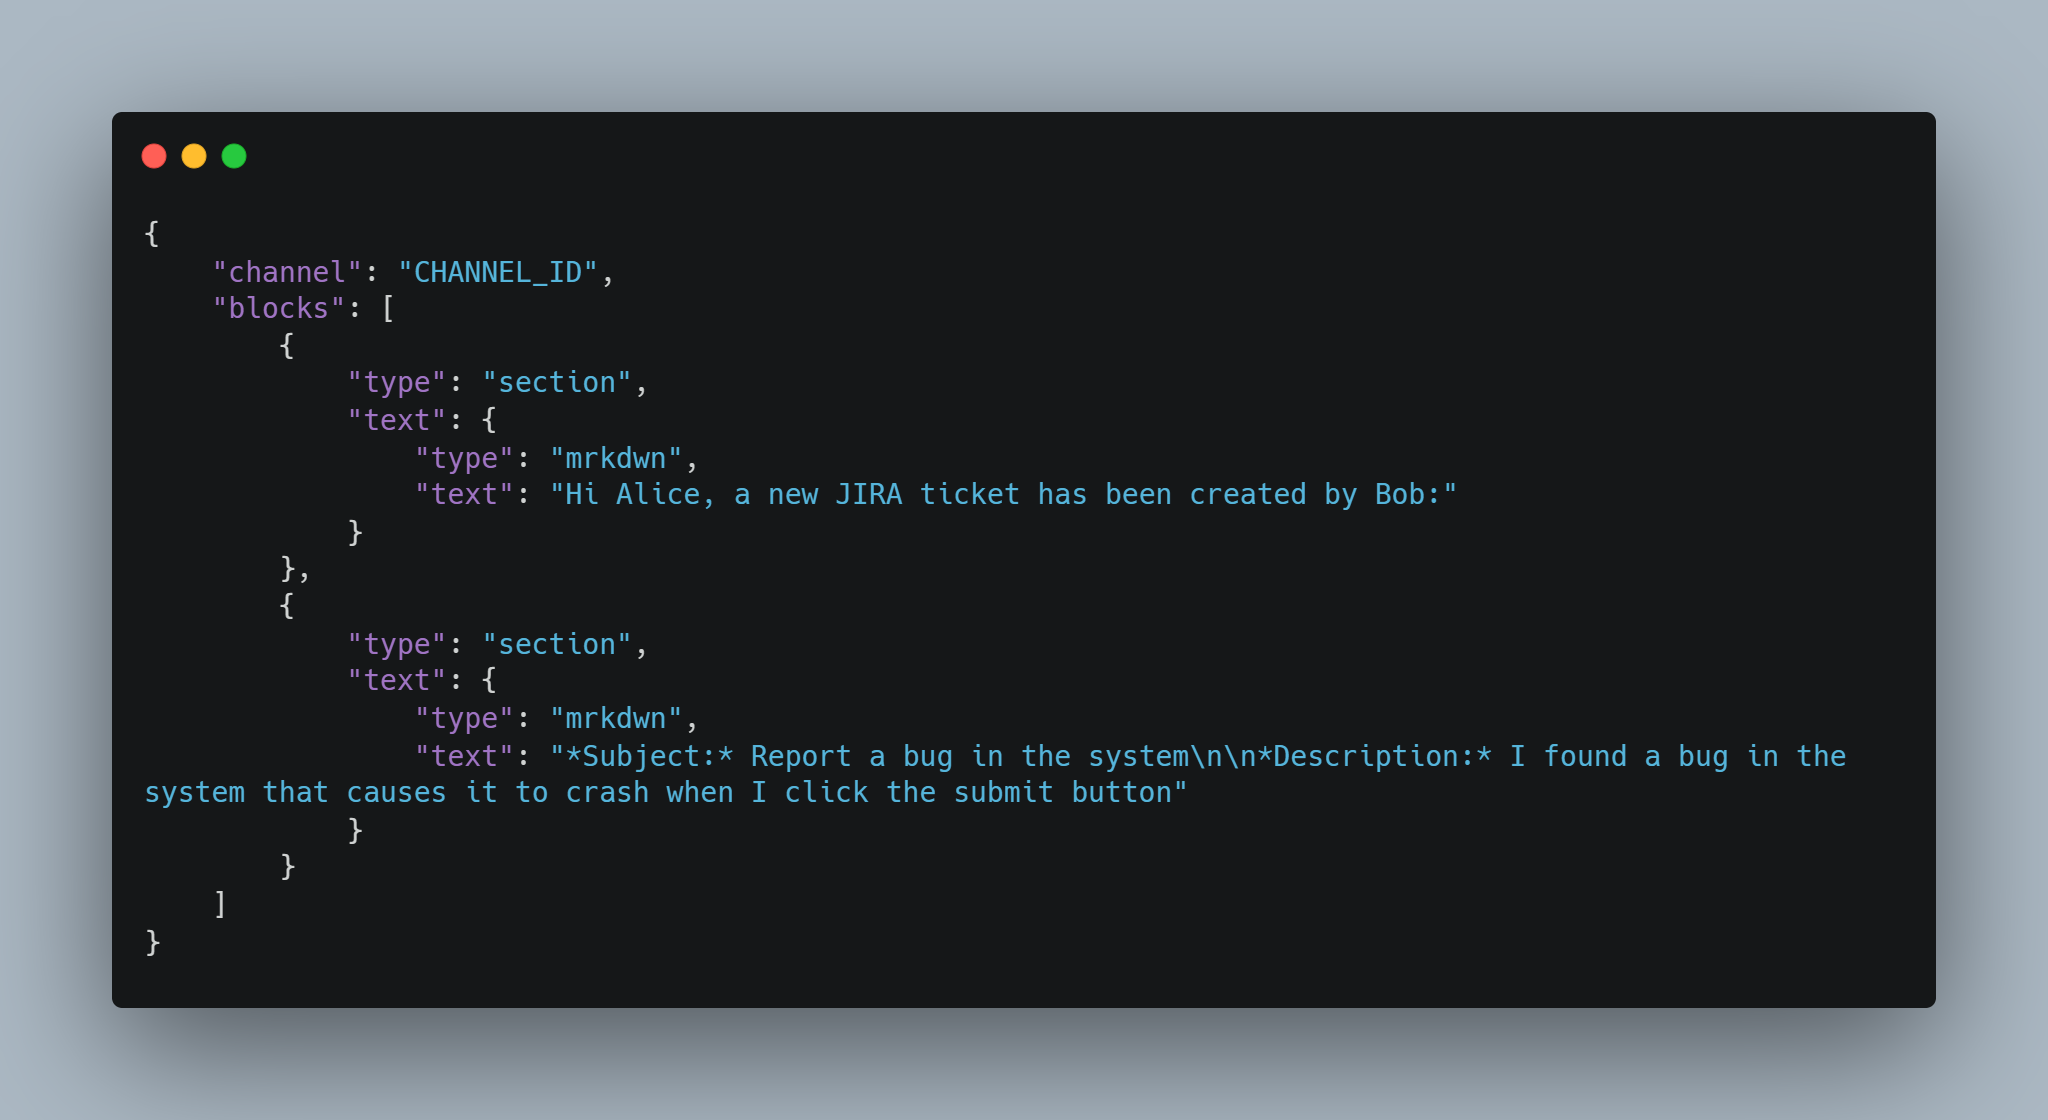
Note that this example uses plain text formatting. You'll need to use Slack's message formatting syntax to include more advanced formatting, such as bold or italicized text. The placeholders will be replaced with the actual values for each recipient when the notification is sent.
You can send this JSON payload using Slack API methods such as '''chat.postMessage''' or '''chat.update'''.
Advanced Block Kit customization techniques
While Block Kit offers a wide range of components to create custom notifications, more advanced techniques can be used to customize the notifications further. This section will discuss some advanced Block Kit customization techniques, such as using modals to collect user input or creating custom Block Kit components.
Using modals to collect user input
Modals are pop-up windows that can be used to collect user input, and they are a great way to streamline workflows and improve the user experience. In Slack, you can use the views.open method of the Slack API to create modals with custom content. Here's an example of a modal that asks the user to confirm an action.

This code will create a simple modal with a title, a confirmation button, a cancel button, and a single section block that displays a message to the user.
Creating custom Block Kit components:
Block Kit provides a wide range of pre-built components that you can use to create custom notifications, but sometimes you may need to create your own.
To do this, you can use the blocks array in your message payload and define the custom component using the JSON schema.
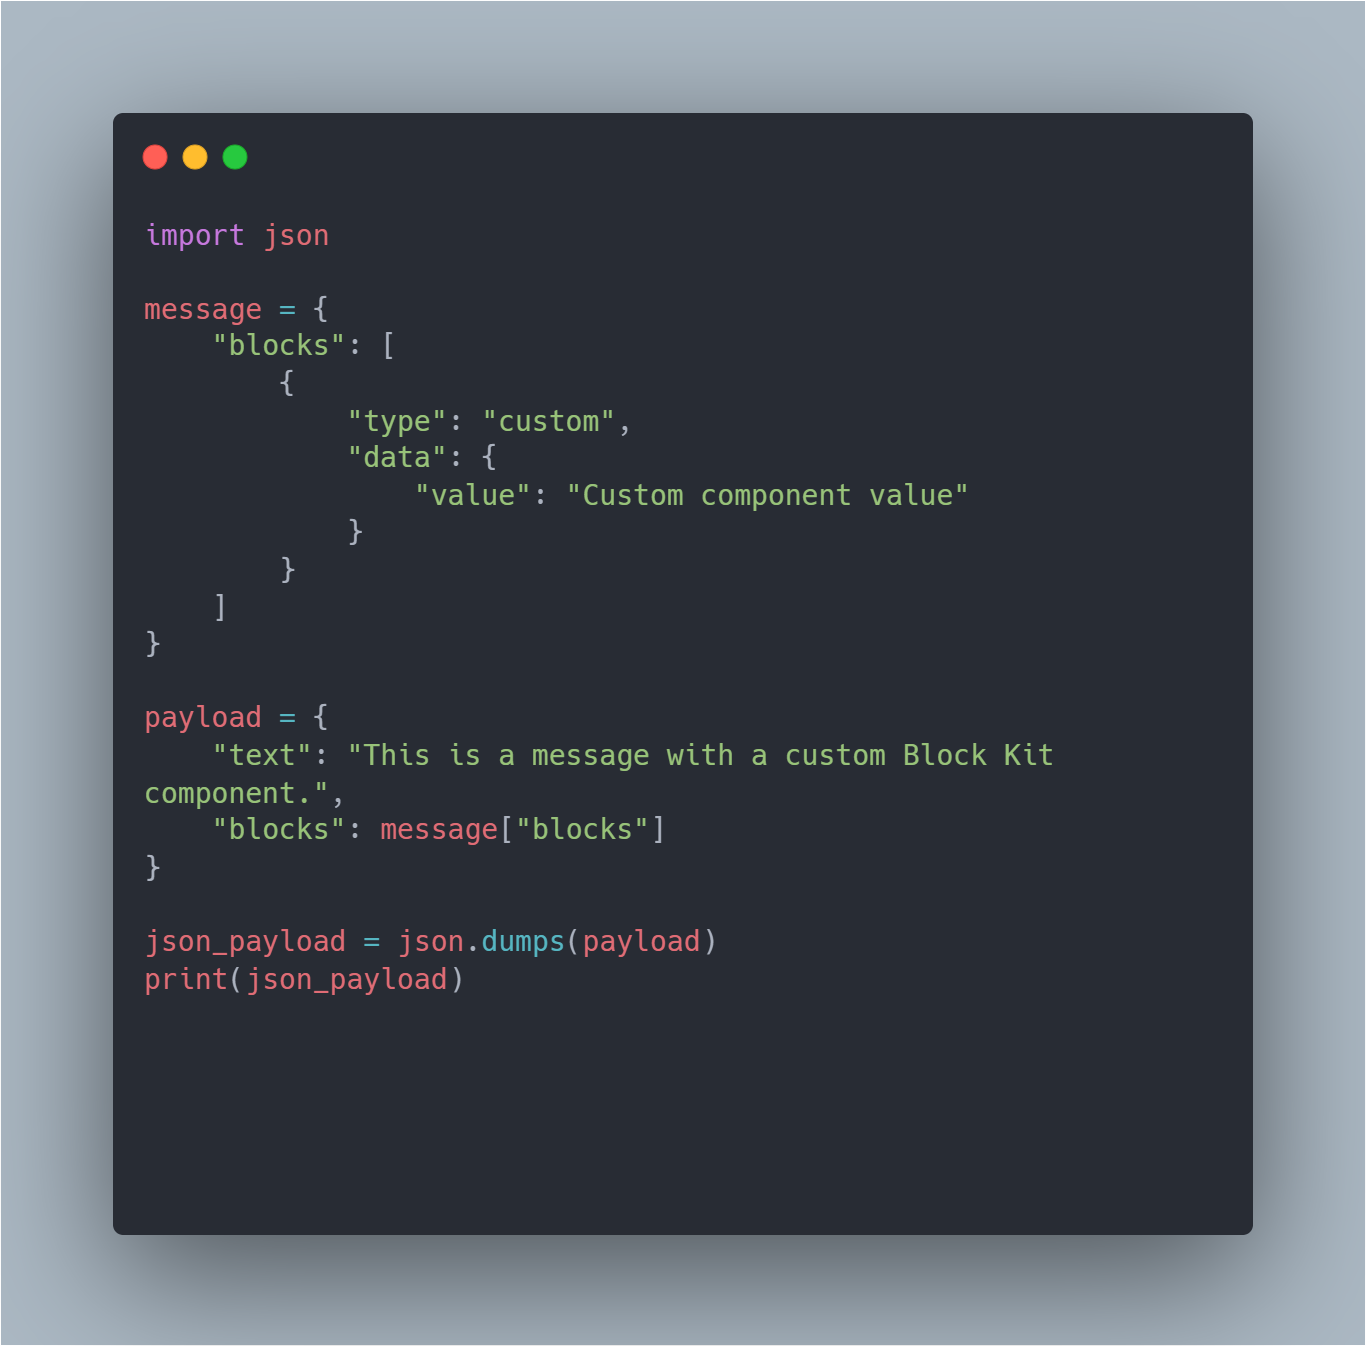
In this example, we define a custom component with the type of "custom" and a Custom component value" data value. We then include this custom component in the blocks array of the message dictionary. Finally, we create a payload dictionary that includes the text and blocks fields, and we convert this dictionary to a JSON string using the json module's dumps function.
Remember that the JSON schema for custom components may vary depending on the specific component you want to create.
Using the Block Kit Builder tool:
Creating custom notification templates using Block Kit and JSONNET can be complex, especially if you're unfamiliar with JSONNET or the Slack API. Slack offers a tool called the Block Kit Builder to simplify the creation of custom notifications, but you will need to use JSONNET to create and render notification templates.
Customizing Transactional Notifications with Block Kit Best Practices
Customizing transactional notifications using Block Kit can be a powerful way to improve user engagement and streamline workflows. However, it's important to follow best practices to ensure your custom notifications are effective and reliable. Here are some tips:
- Use consistent branding: Custom notifications should reflect your brand identity and be consistent with your other messaging. Use your brand colors, fonts, and tone of voice to make your notifications instantly recognizable.
- Keep the layout simple: Avoid cluttering your notifications with too much information or components. Keep the layout simple and easy to read, and use components only when they add value to the notification.
- Test your notifications: Before deploying your custom notifications, it's important to test them thoroughly to ensure they work as expected. Use Slack's API or third-party tools like Postman to test your notifications and ensure they deliver the correct information.
- Handle errors and retries: Transactions can fail for various reasons, such as network issues or invalid user input. Handling errors and retries is important to ensure that notifications are delivered reliably. Use the retry logic provided by Slack's API, and make sure to handle errors gracefully and provide clear instructions to the user.
- Personalize notifications: Use JSONNET to add dynamic variables in the notifications. This is necessary to do when you are personalizing the notification content for each recipient.
- Monitor performance: Keep an eye on the performance of your custom notifications and use analytics tools to track engagement and user behavior. This can help you identify areas for improvement and optimize your notifications over time.