Project Details
Stocks information broadcasting project will walk you through the steps to build a broadcasting system for your stocks and trading application. You would be able to integrate the SuprSend API in your application, set broadcasting logic and subscriber lists, and run timed broadcasts to those subscribers.
Preview
Deployed Link: Stock Alerts (stockmarketsuprsend.onrender.com)
Github Repo Link: SuprSend-NotificationAPI/Stocks-information-broadcast (github.com)
Application Features
- Add Subscribers: You can add subscribers from the application’s front end, and update it automatically on SuprSend application using Lists API
- Remove subscribers: You can remove subscribers from the application’s front end by passing the distinct_id of the user which will remove the subscriber from the List on SuprSend.
- Real-time stock updates: Using Alphavantage API we would be receiving real-time stock notifications of US stocks.
- Sending Broadcasts: Sending broadcasts on your real-time subscriber list from the application’s frontend which calls SuprSend’s Broadcast API. It is an important use case of all stocks trading/ algo trading applications where updating users with real-time stock information is required at set times.
- Users can Subscribe/ Unsubscribe: Users can subscribe or unsubscribe to the stock updates as per their wish directly from the application’s frontend. Moreover you can use SuprSend Preferences to automatically remove a user from receiving notifications of specific models.
Technology Stack
- Frontend: EJS, Javascript
- Backend: Node.js
- Database: MongoDb
- Notification API: SuprSend
- Stocks API: Alphavantage
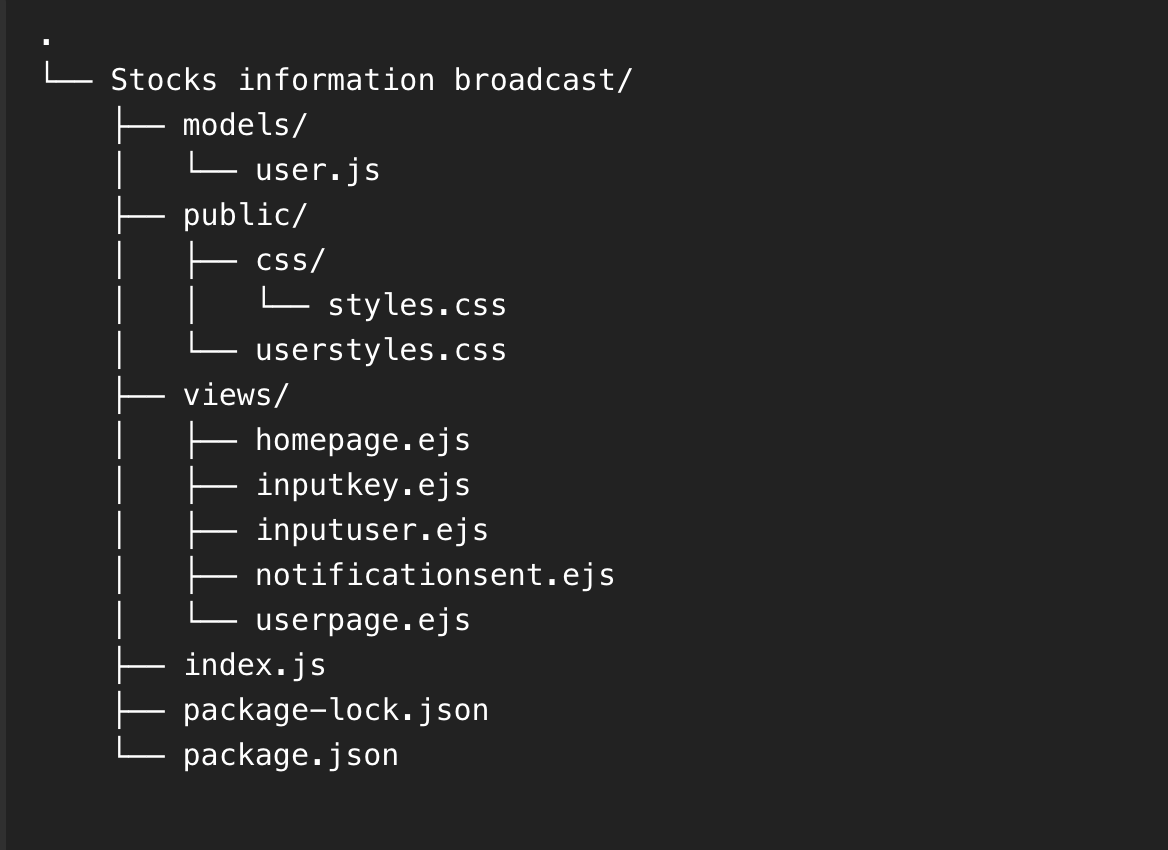
File structure
Frontend (UI/ UX)
You can find the frontend HTML part in here: Stocks-information-broadcast/views at main · SuprSend-NotificationAPI/Stocks-information-broadcast · GitHub
You can find the frontend CSS styling code in here: Stocks-information-broadcast/public/css at main · SuprSend-NotificationAPI/Stocks-information-broadcast (github.com)
You can use and modify the above code to suit your design ideas. Let’s check how our frontend UI will look like:
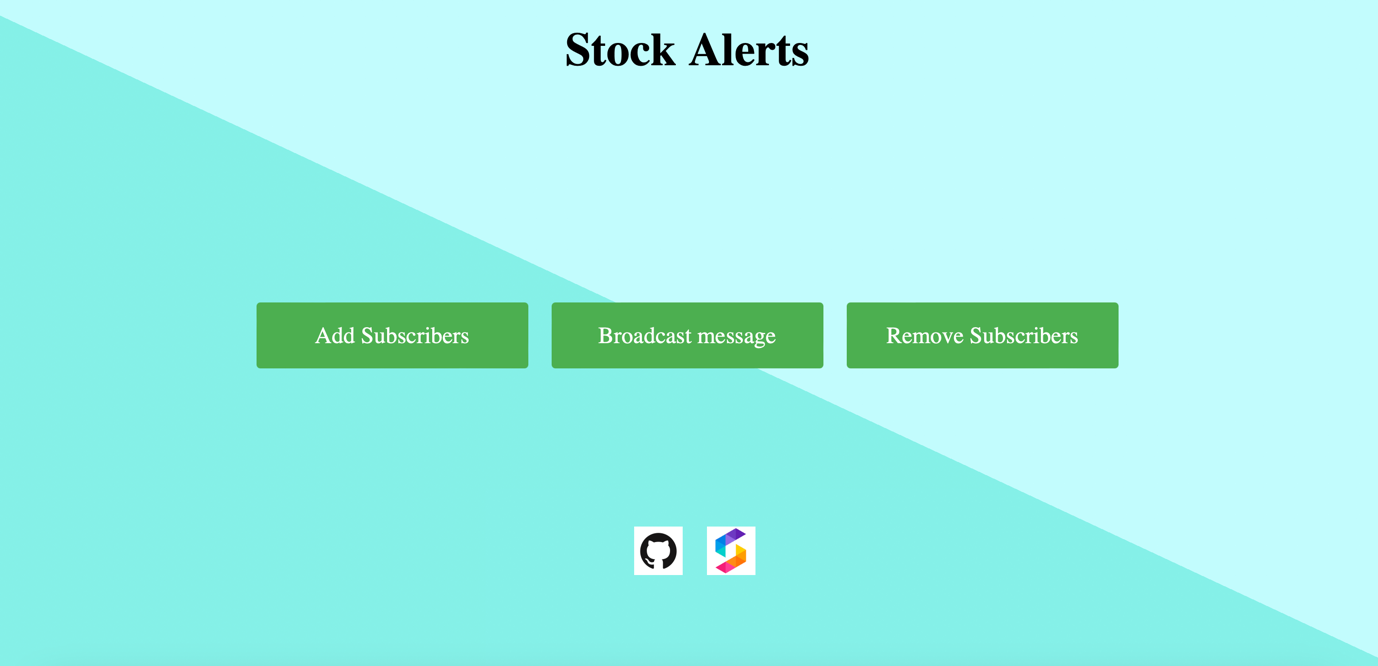
Homepage
This is our landing page when someone clicks and lands on our deployed URL. It contains the app functionalities along with our website link and project’s Github repository.
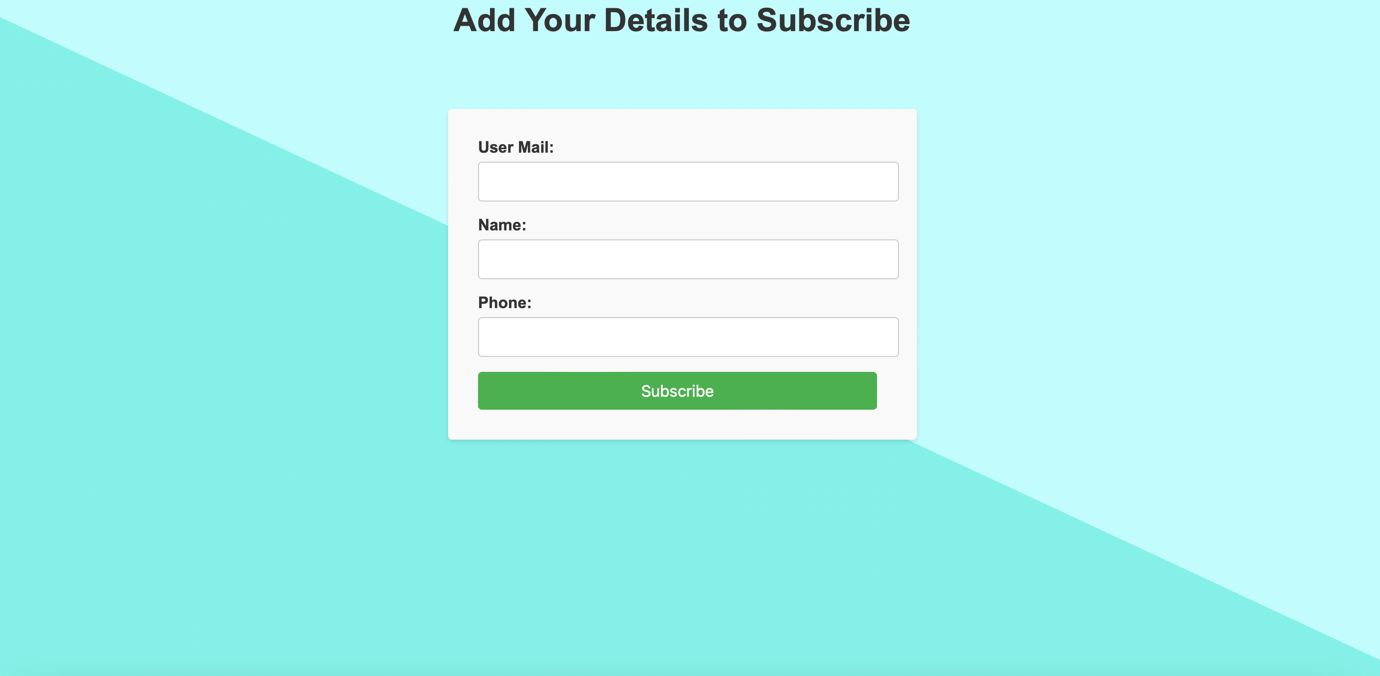
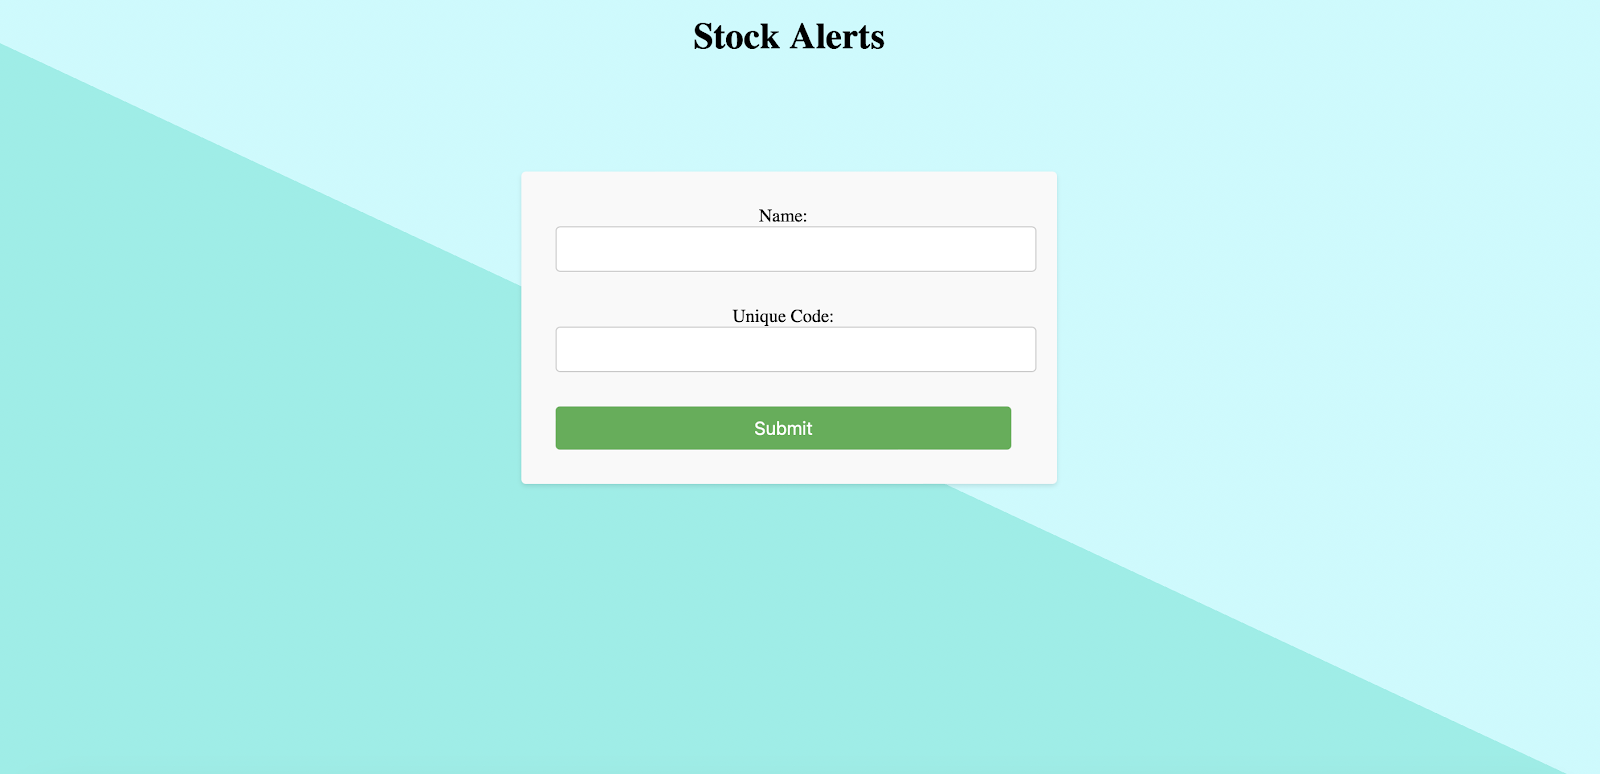
Add subscribers page
With this functionality you can create multiple subscriber to which notifications would be sent. Businesses can also use our API to create subscriber lists programmatically.
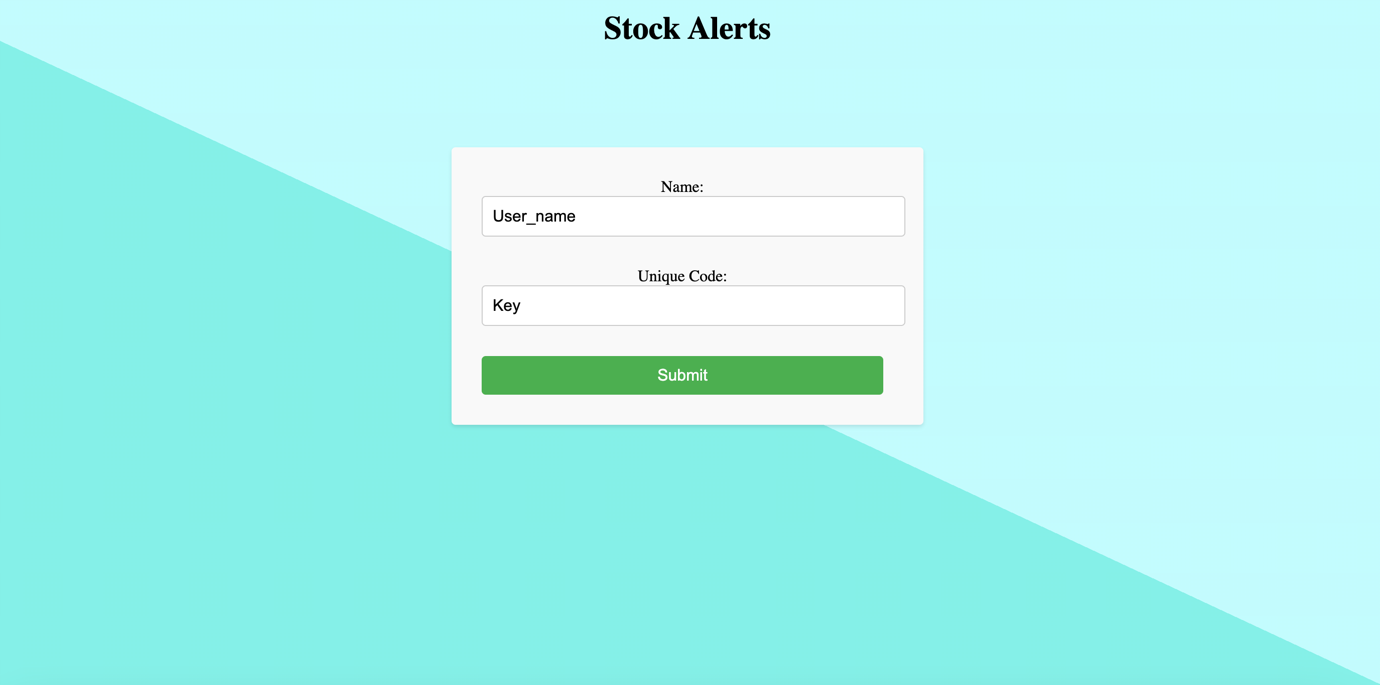
Broadcast Testing
If a tester wants to test the broadcast message then he/she needs a key otherwise he/she cannot send the broadcast message.
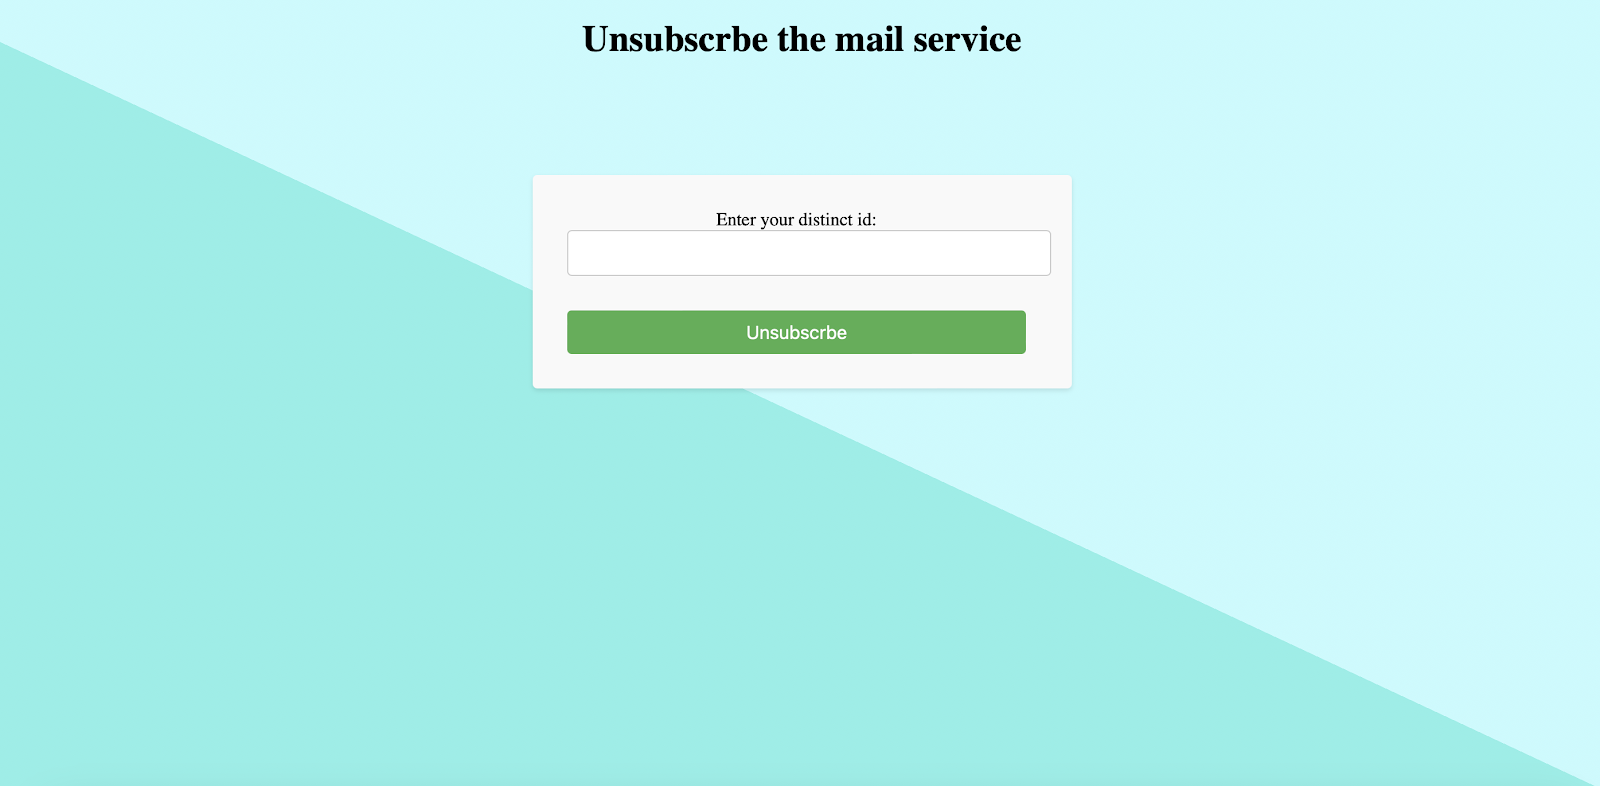
Unsubscribe Link
User can also unsubscribe the plan and he will not receive any further updates. For that he just need to type in his/her distinct user id generated at SuprSend.
Backend Codes and Integrations
We would be using MongoDb database to store users and their other important permissions.
models/user.js
Setting up the backend
You can find the WORKSPACE_KEY and WORKSPACE_SECRET on the ‘Settings’ tab on SuprSend application, once you signup.
Creating ‘List’ On SuprSend
The Lists SDK methods lets you create a list of subscribers. You can then send bulk messages to all the subscribers in the list with a single API call.
You can create multiple lists on the application, all of which would be visible in the ‘Subscribers’ section on the application. Using the List_id you can use our API to broadcast notifications to that particular subscriber list. It would look like:
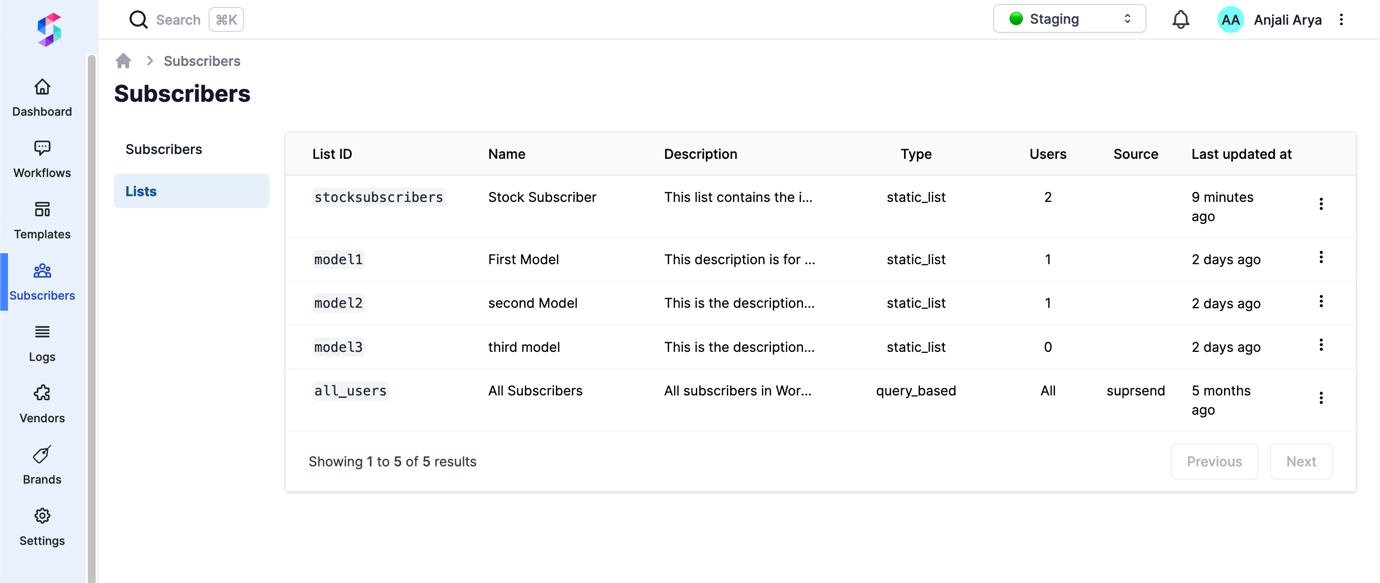
You can toggle inside a list, and check out the subscribers inside that list, add, delete or update that subscriber information from our dashboard. Each subscriber is mapped to a distinct_id which would then be used for any debugging process.
Getting routes <index.js>
Post routes
With this we added users to the database and that is then updated to the subscribers list. We can further setup the notification channels easily once your subscribers list is ready.
Integrating Stocks API and Implementing Notifications Broadcasting
We use the Alphavantage API to get real-time stock prices which can be replaced by your stock/ trading system. We will setup a key, which you can create of your choice, then that key would be used for authentication to send data.
Once the key matches the data would be sent to SuprSend for broadcasting.
Triggering Broadcast
Use the following code to setup your backend for triggering the broadcasts. Refer to this documentation for setting broadcast feature in Node.js: Broadcast (suprsend.com)
Setup unsubscirbe from here:
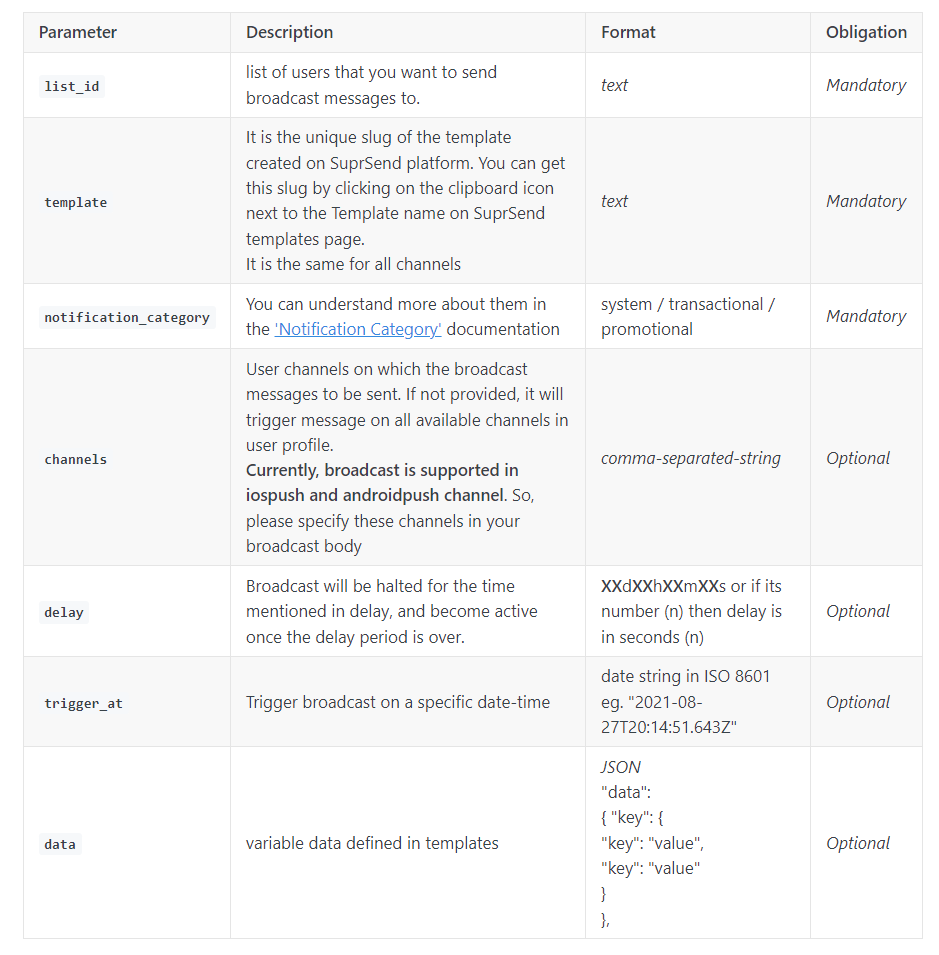
You can use the following fields inside a broadcast body:
Once our backend is setup, we can now create notification templates that will go in the broadcast. Using SuprSend’s drag-and-drop template builder you can easily configure the templates with modern elements while using our variables to make it dynamic.
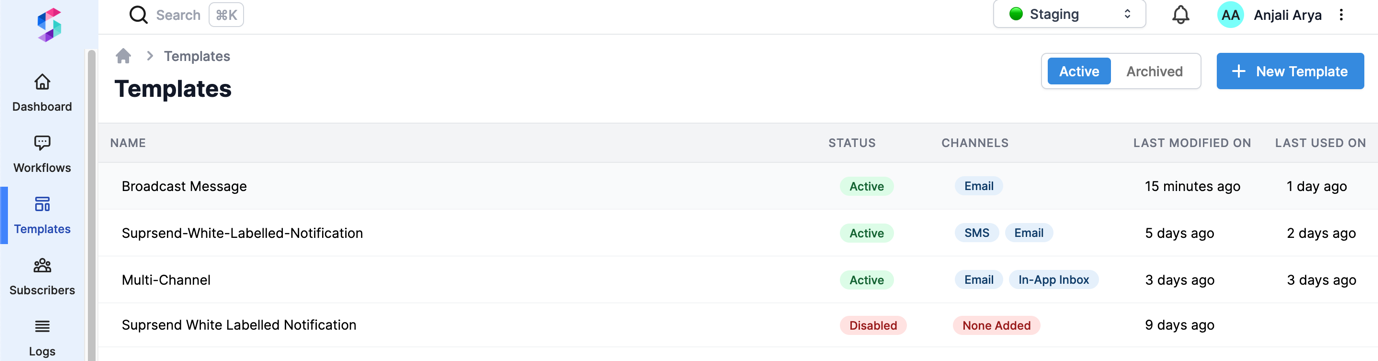
Setting Broadcast Templates
Head to ‘Templates’ inside the application.
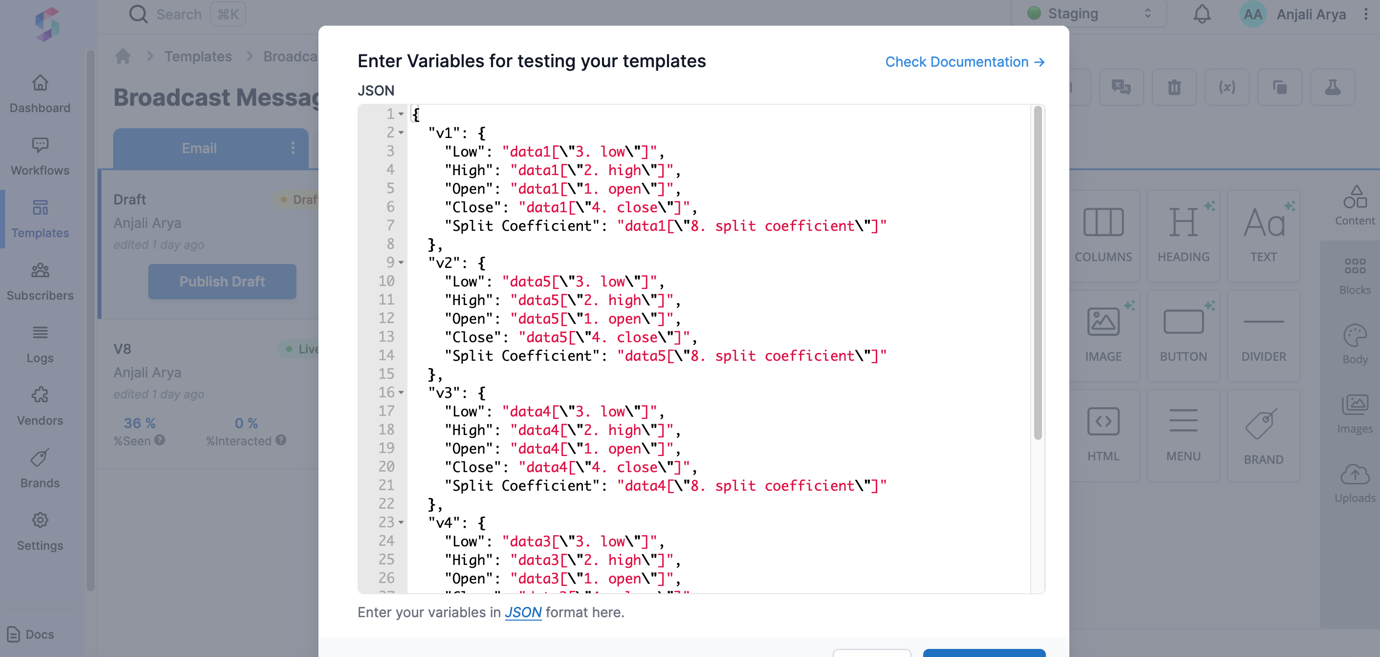
Add mock data
Use the variables defined in your backend code for the stocks related information.
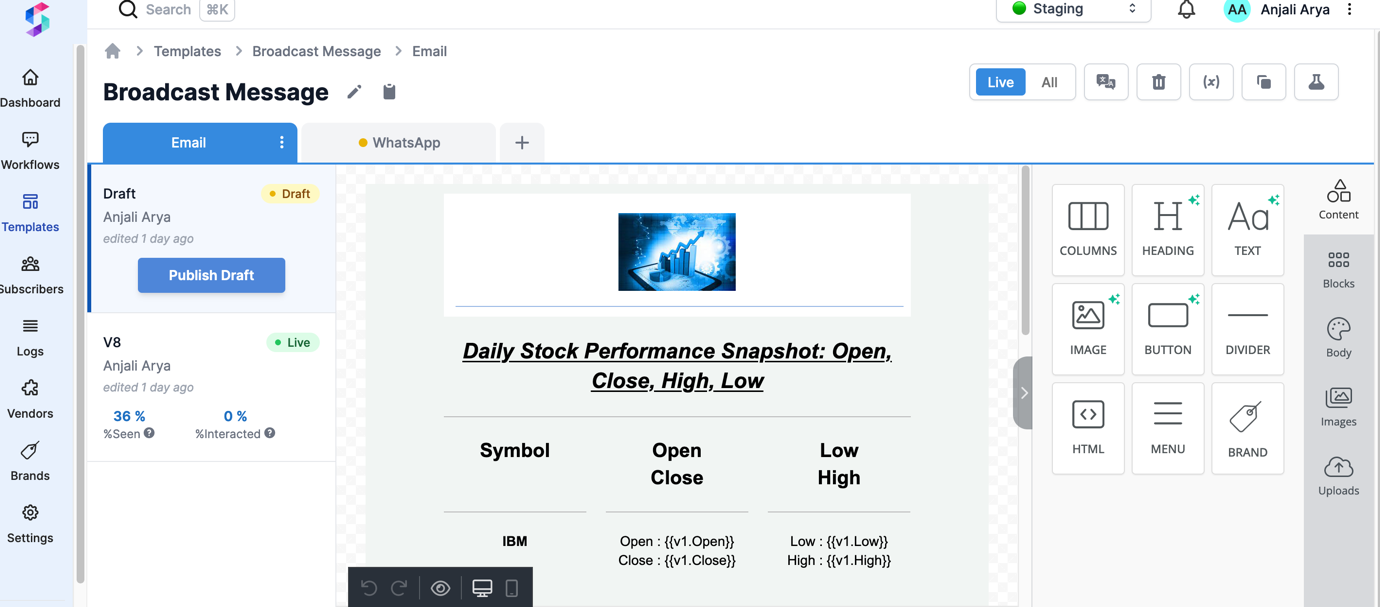
Customising Template
You can customise the template with our drag-and-drop features and functions given on the right side. Once customised, you can also preview the template before saving changes.
Your users can also unsubscribe from the broadcast list, directly by clicking on the ‘Unsubscribe’ button on the template. Or you can also unsubscribe that user from backend though a distinct_id would be needed for that user.
Testing Application
Create subscribers, then head to Sending Broadcasts. Put in the unique key setup during backend implementation, and your broadcasts would be sent. You can check the broadcast analytics on SuprSend’s analytics and logs section.
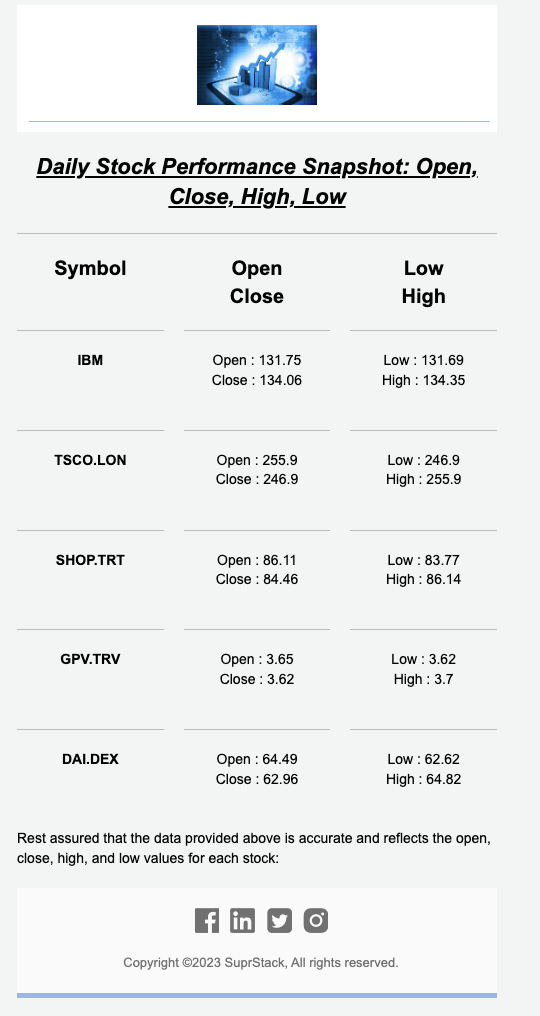
Email Your Users Receive
Using the set variable, the data is fetched in real time via the Alphavantage API and dynamically updated in the templates before sending the notifications.